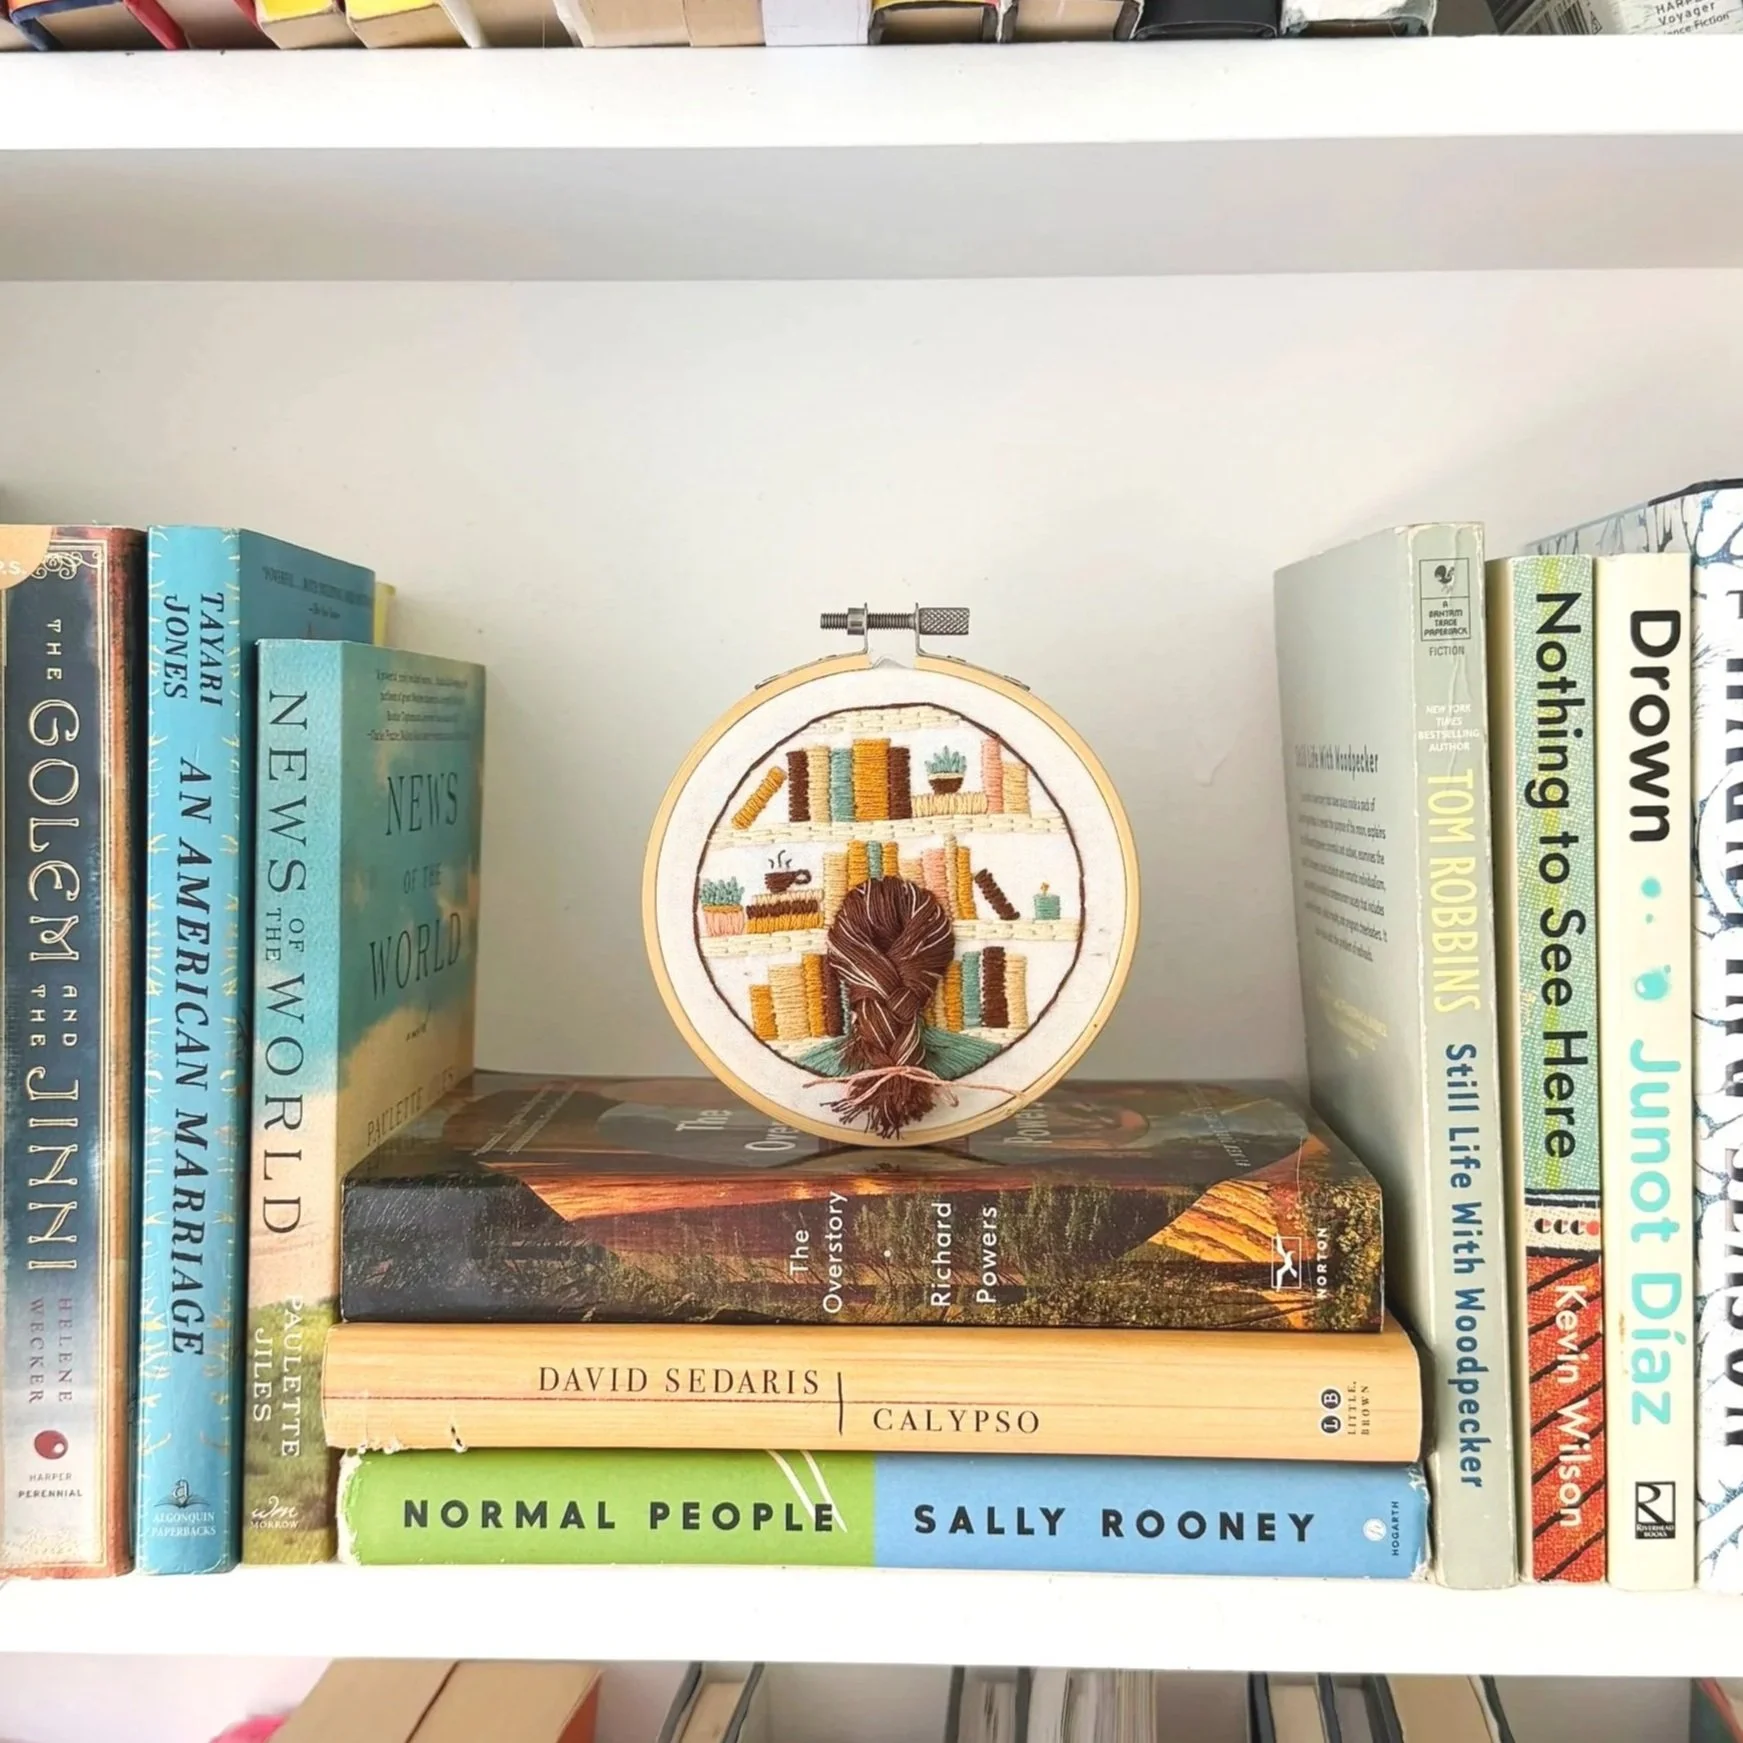
Story Time Embroidery Kit
Welcome!
-
△
Here, you’ll find everything you need to know to get started, to stitch the pattern, and to finish and display your completed piece.
-
△
-
△
Have questions? Explore the FAQs and don’t hesitate to reach out: needleandspruce@gmail.com.

Story Time Embroidery Kit Overview
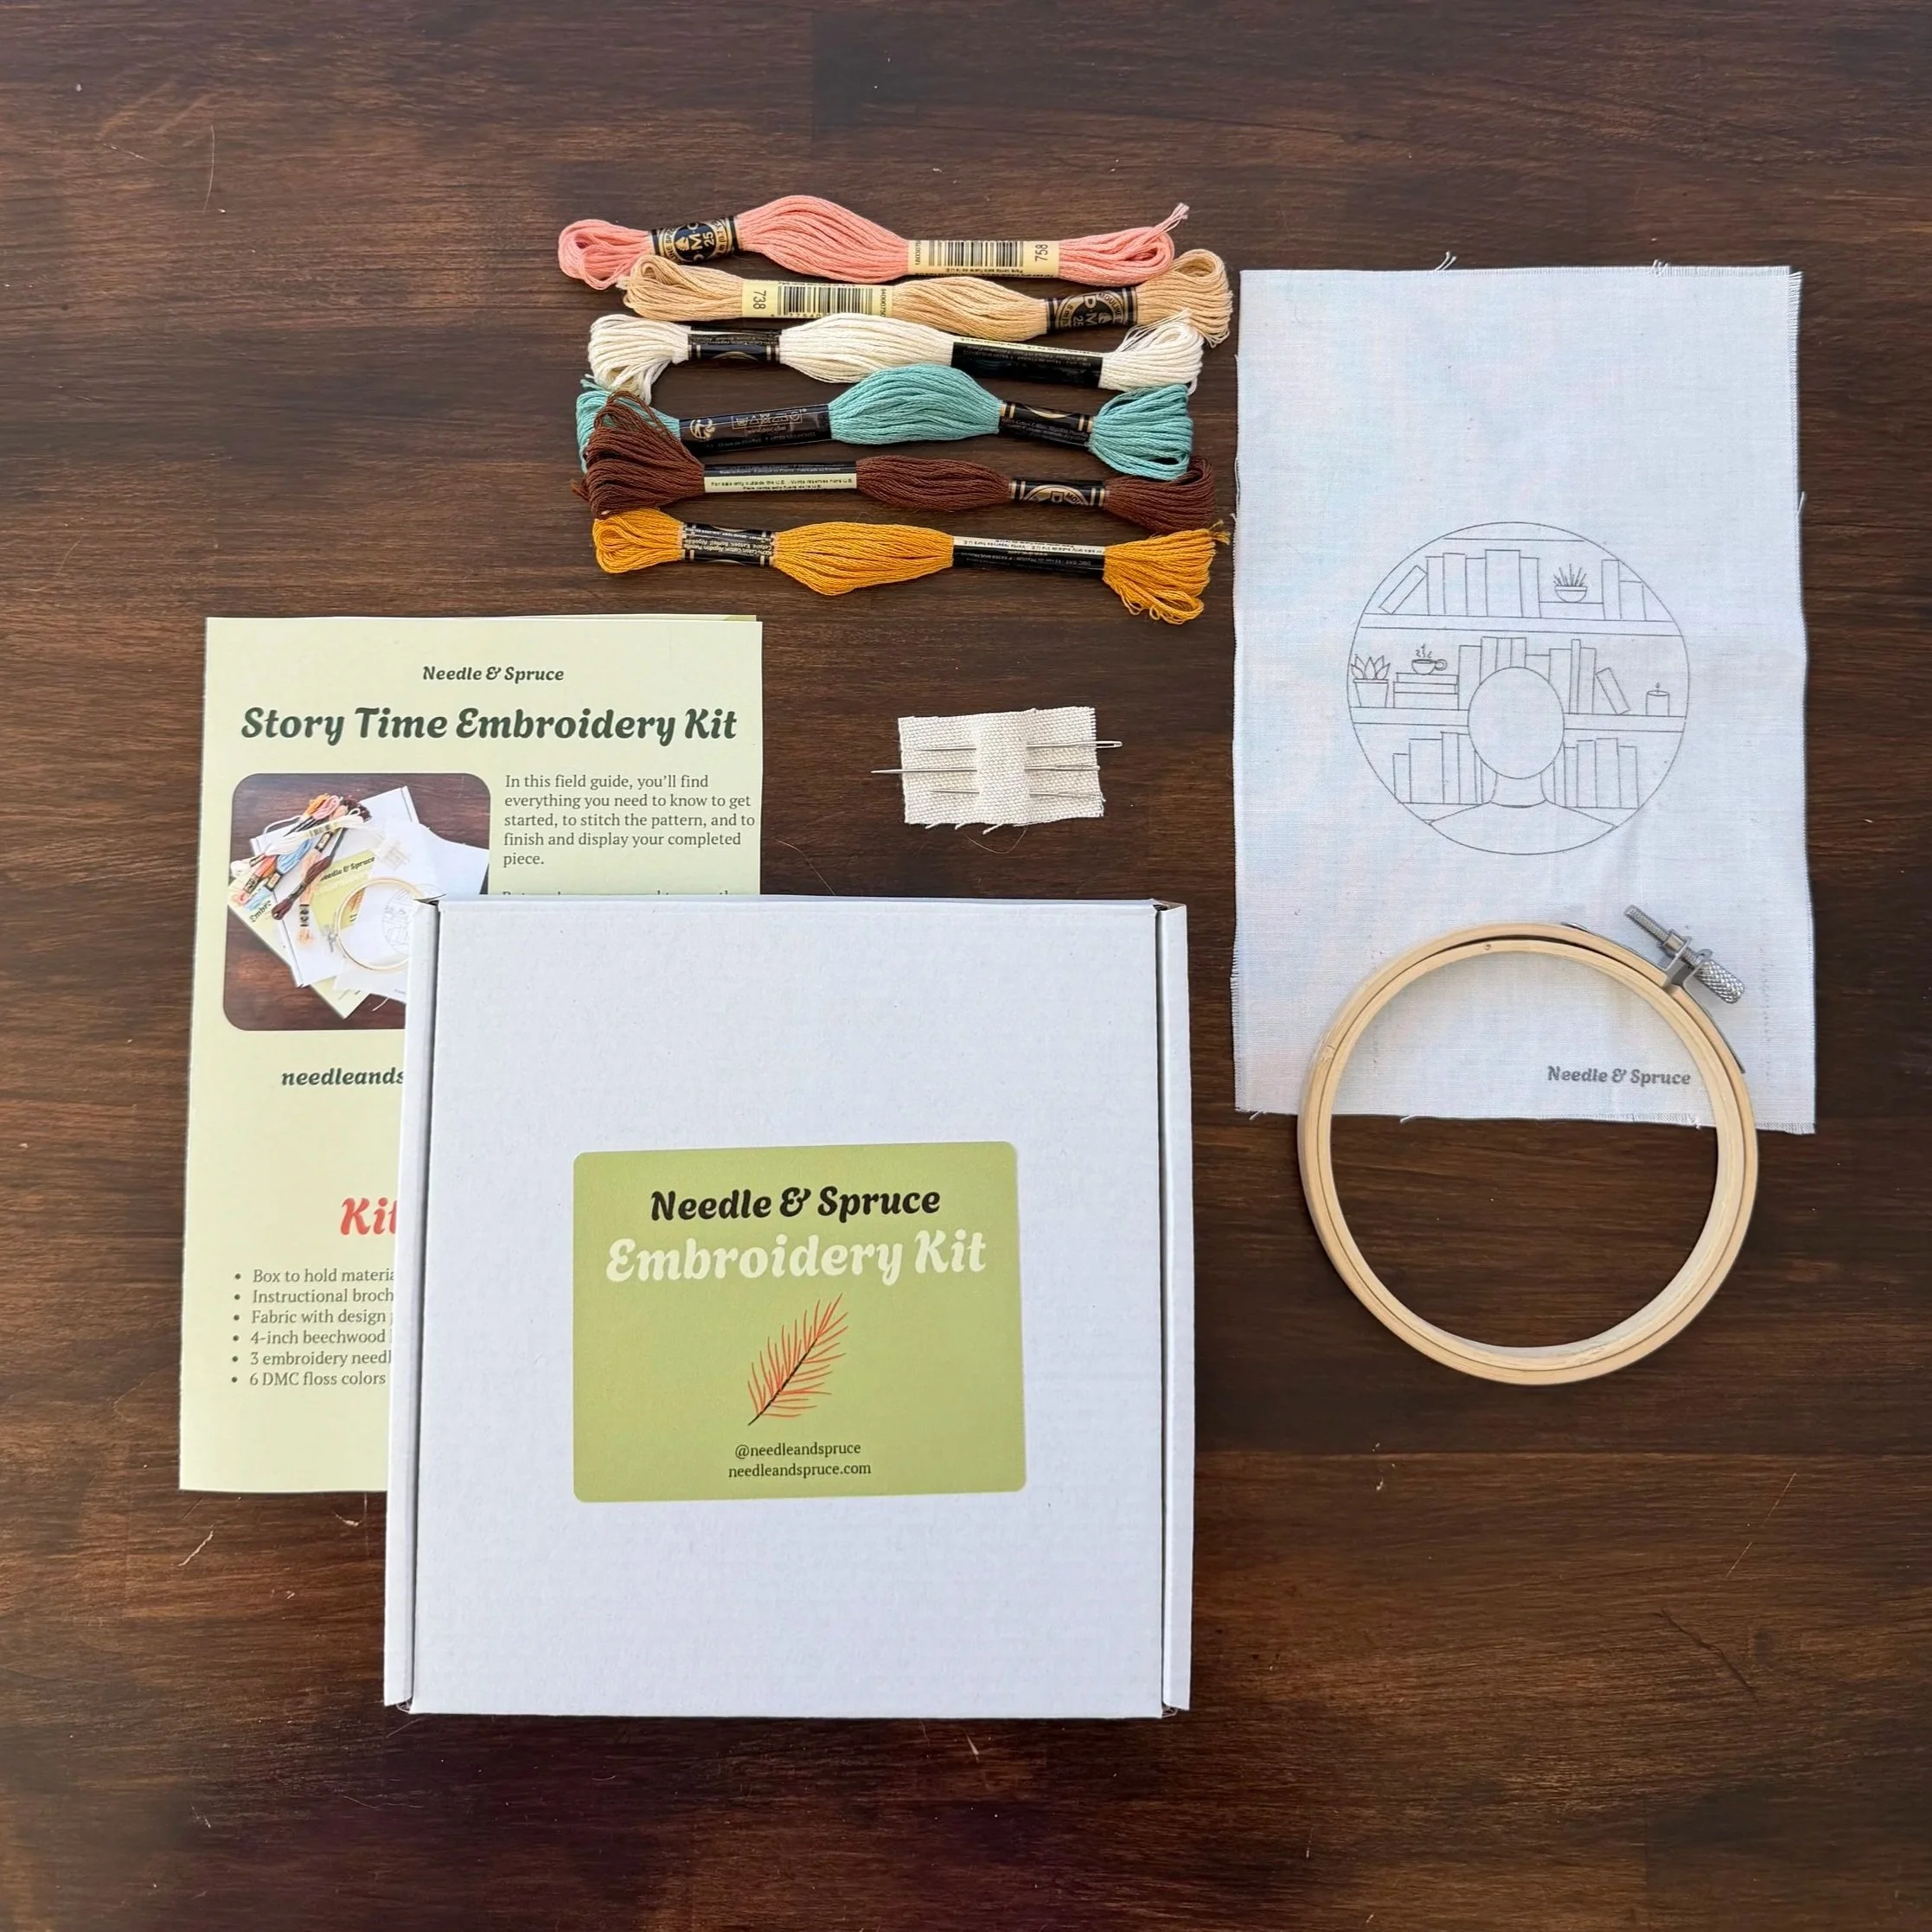
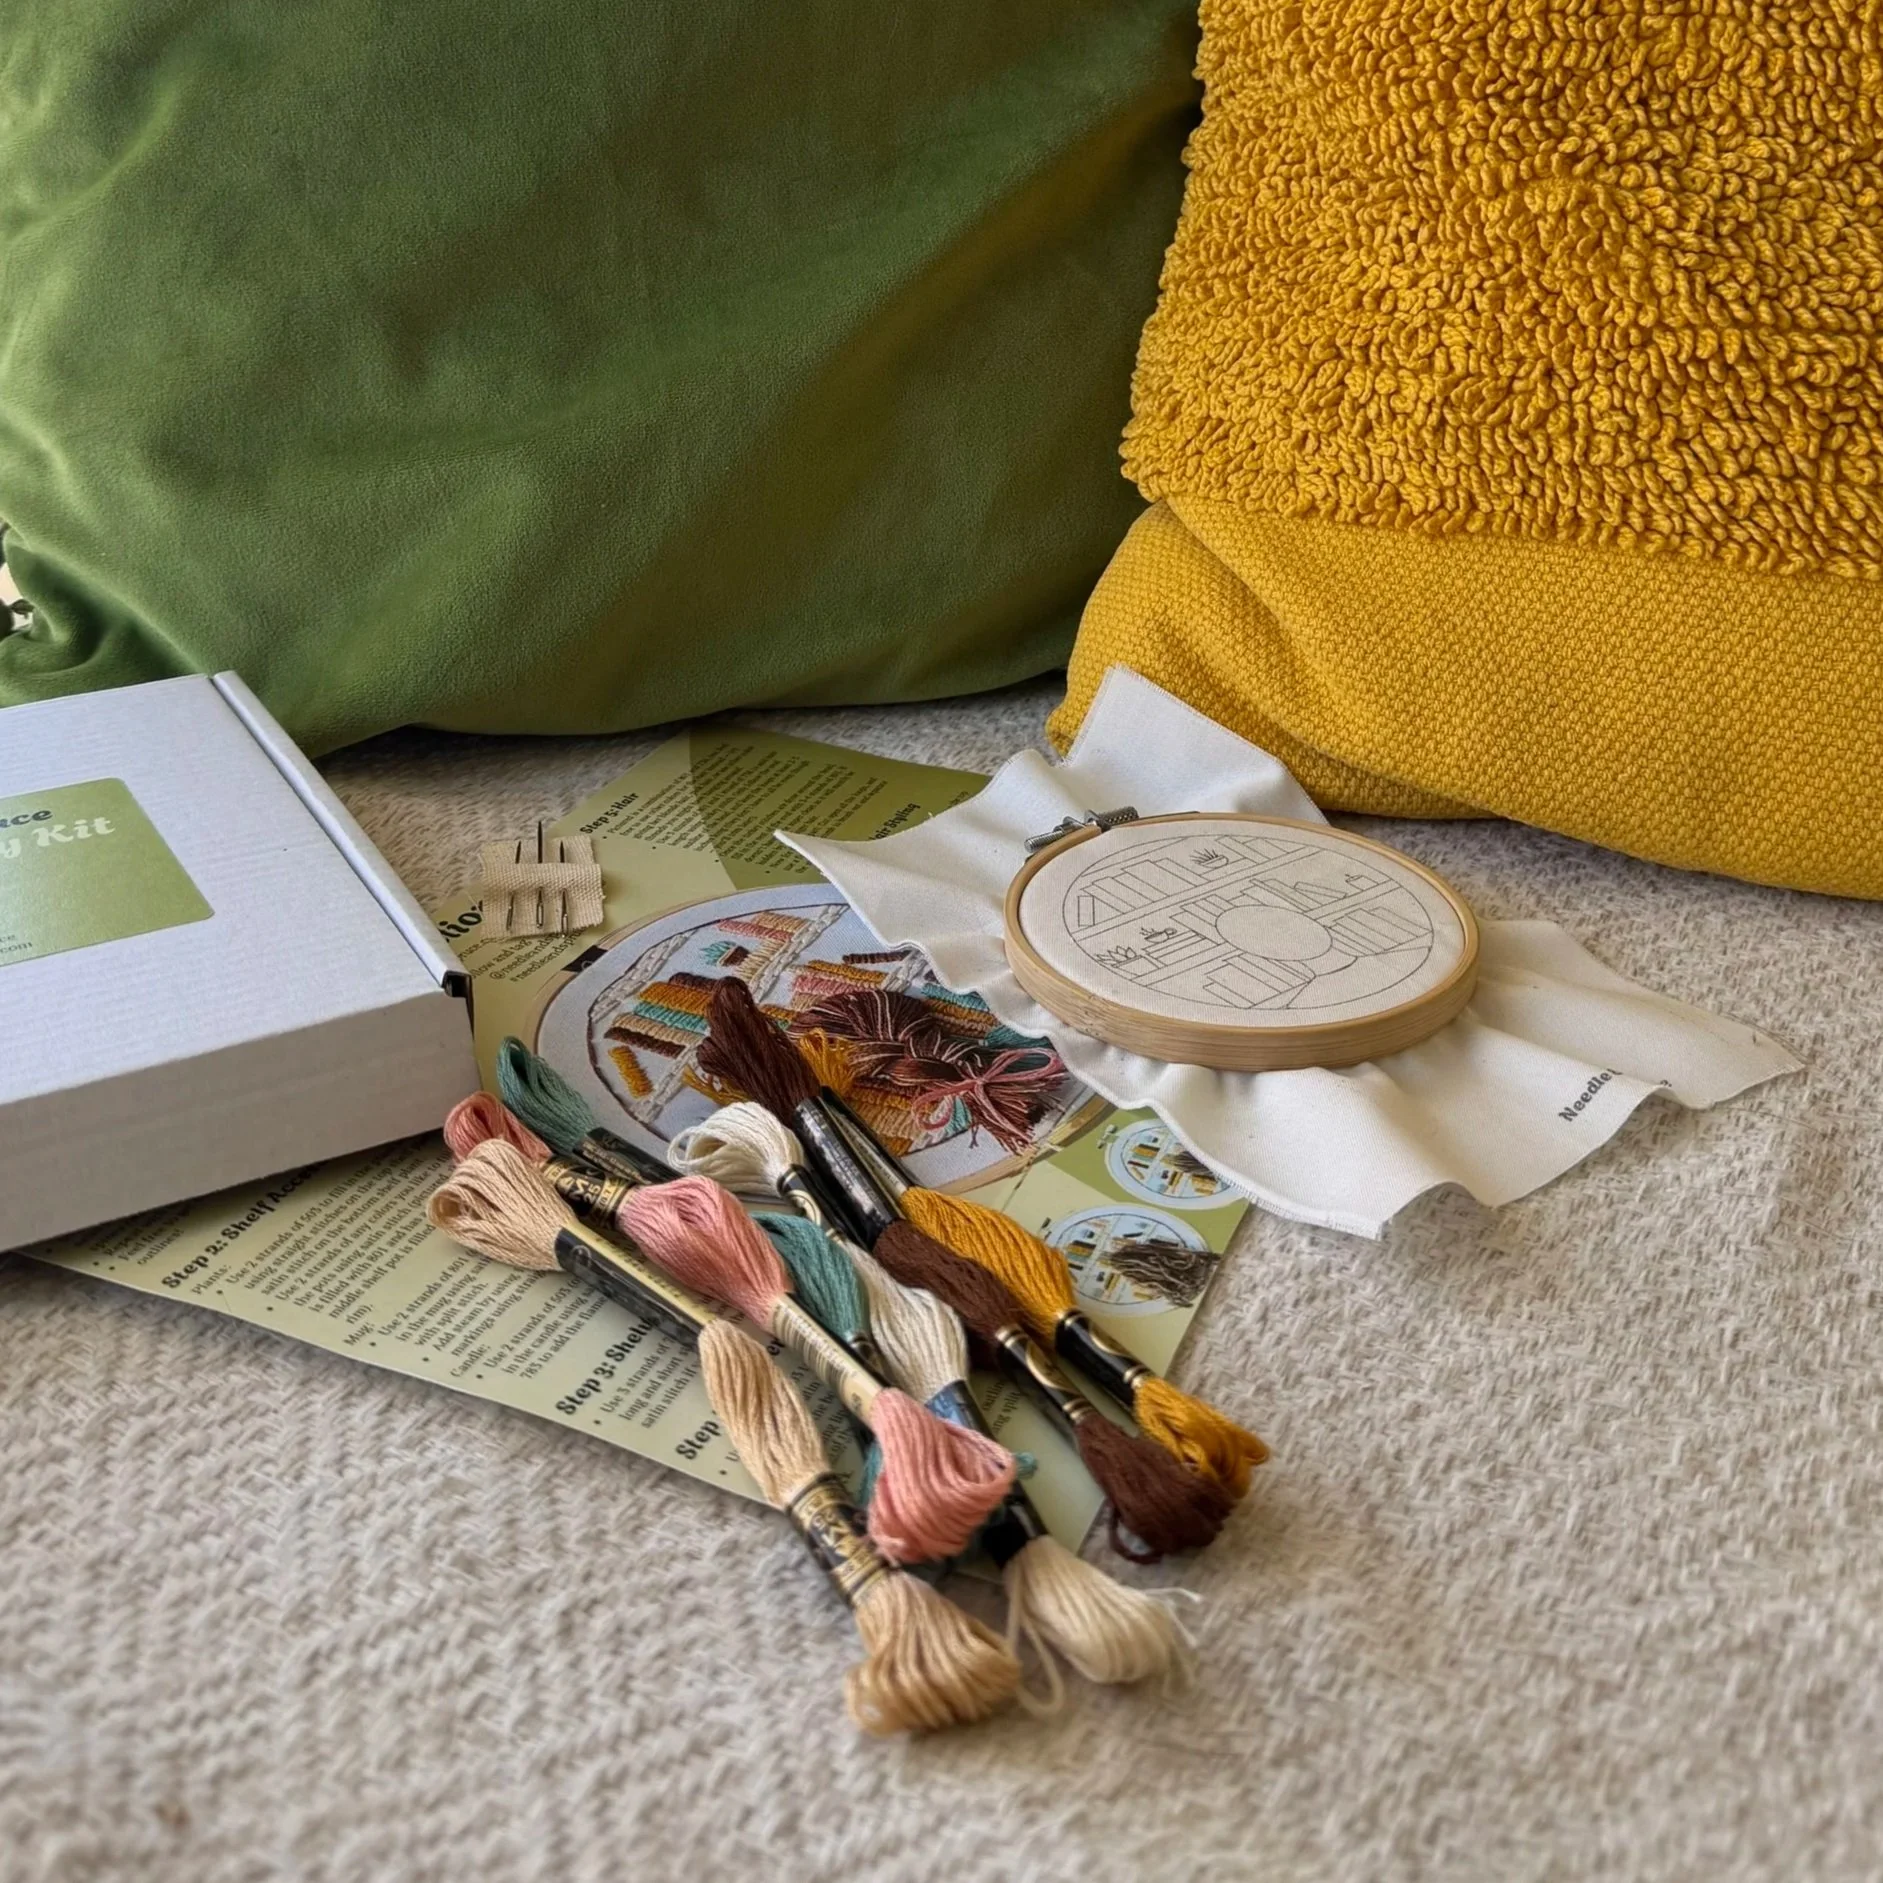
Kit Contents Include:
Box to hold materials
Instructional brochure
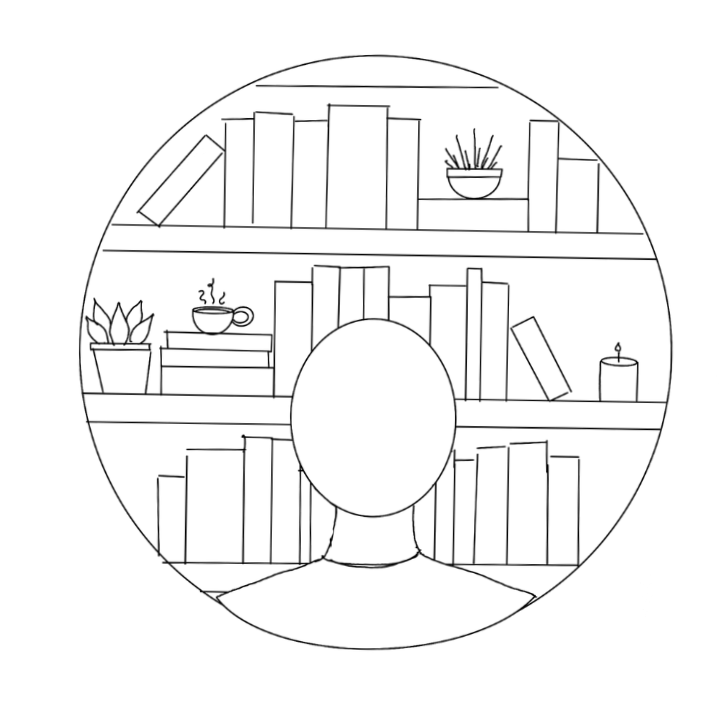
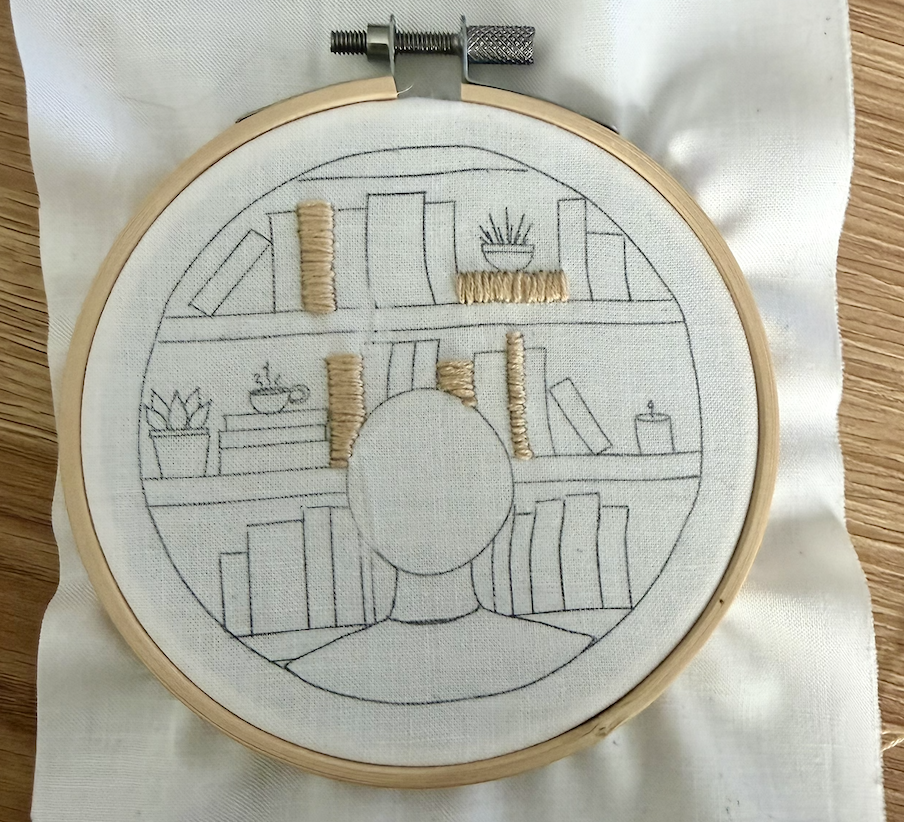
Fabric with design printed on it
4-inch beechwood hoop
3 embroidery needles
8 DMC embroidery floss colors:
Brown - DMC 801
Ecru - DMC 712
Gold - DMC 783
Beige - DMC 738
Teal - DMC 503
Light Pink - DMC 758
Getting Started
Separate the two hoops. Center the fabric design on top of the smaller hoop, then secure it taught with the larger hoop on top. Tighten the fastener at the top, pulling the canvas tight at the same time to create a smooth, even surface to work with.
Each piece of floss is composed of 6 individual strands. You can separate these out to create thinner and thicker lines when embroidering.
Cut about an arm’s length of embroidery floss at a time and separate out your desired number of strands. Tie both ends in a double knot to keep the thread in place in the back as you begin.
As you stitch, be sure to keep tension in the thread — but don’t stitch so tight that it puckers.
And if you make a mistake or don’t like the look of something, cut it out and start that section again!
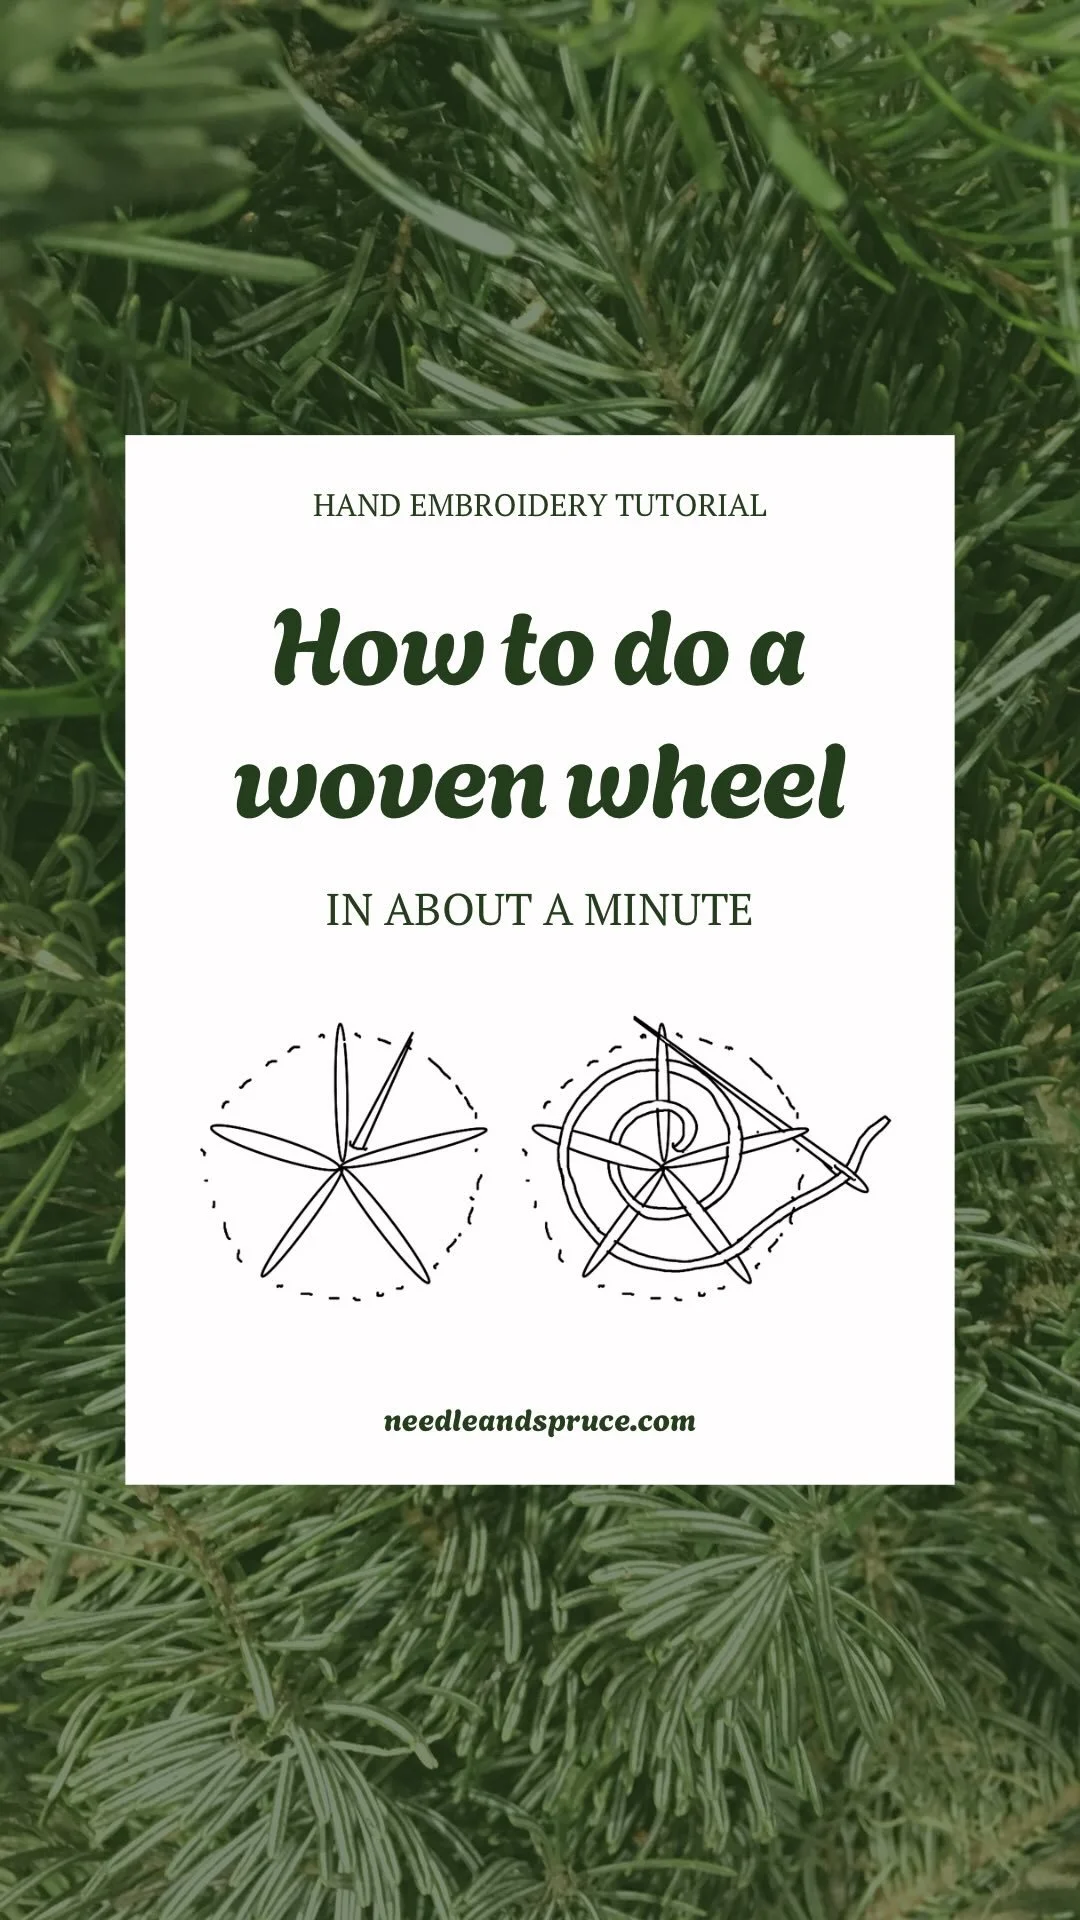
Types of Stitches in This Pattern
-

Split Stitch
Good for outlines and text. You’ll use this stitch to outline the outer circle and mug handle.
The split back stitch and the back stitch would also work for these outlines.
Begin with a straight line. Pierce this stitch from the bottom (1) and go back down a stitch away (2). Repeat (3).
-

Satin Stitch
Good for filling in larger spaces. You’ll use it to fill in the books, plant pots, and sweater.
Begin with a straight line (1,2). Come back up from the same side as 1 to maintain stitch direction (3). Fill shape.
-

Turkey Stitch
Makes hair! You’ll use this stitch to create the hair strands.
To start, begin by piecing the fabric from the top (1), leaving the unknotted tail on the front of your piece.
Bring the needle up directly next to the first stitch (2), then go down directly to the left of the first hole (3). Next, come back up in the first hole again (1) and pull the thread taut to tack down the tail. To make your first loop, go down in the fabric again (4) but do not pull tight — be sure to leave a loop of thread. Repeat this process (5,6) until you’ve achieved the desired number of loops.
Ensure the loops are all about the same length — once you’ve gone around the head shape, you’ll cut the loops open to create the hair, and will want them all to be around the same length. (More on that process in the step-by-step instructions below!)
-

Long & Short Stitch
Great for filling in space on more flexible fabrics. Also lends well to creating color gradients.
You’ll use this stitch for making the bookshelves.
Begin with a row of stitches that stagger in length. They do not need to be even! The next row will all contain stitches of varying lengths. Repeat going row by row to fill in the shape.
How to Stitch the Design
Step 1: Books
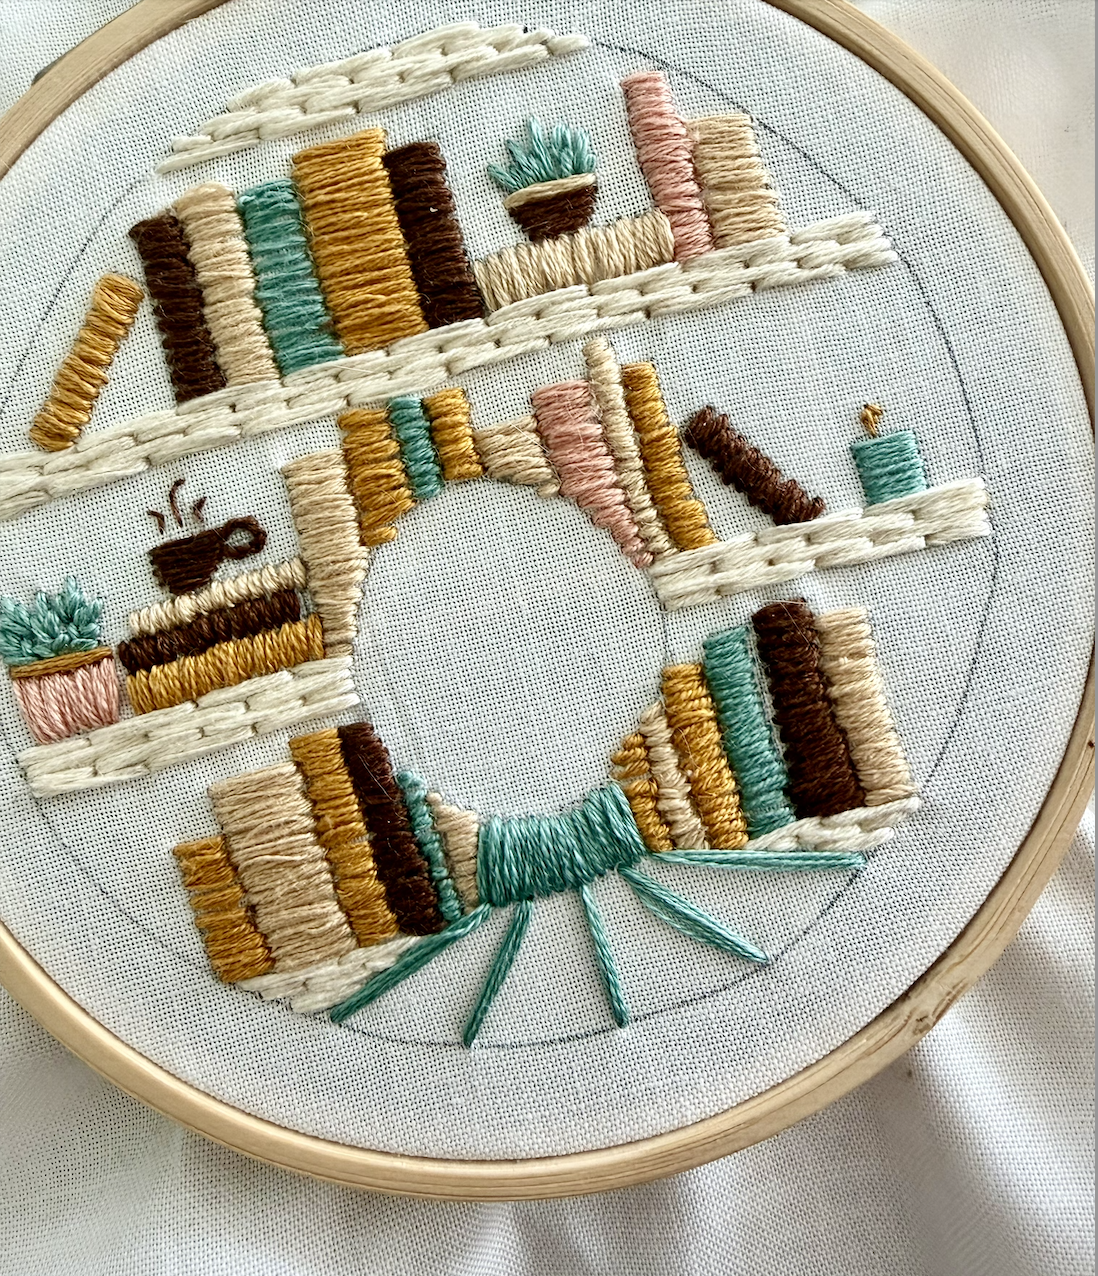
Use 3 strands of any color to stitch a handful of books using satin stitch. It’s recommended to do this the short width of the spines rather than the longer length as it looks a bit tidier.
Repeat with all the different colors until all books are filled in.
Feel free to get creative and add stripes along the spines or outline books in darker shades!
Step 2: Shelf Accessories
Plants:
Use 2 strands of 503 to fill in the plant leaves using straight stitches on the top shelf plant and satin stitch on the bottom shelf plant.
Use 2 strands of any colors you like to fill in the the pots using satin stitch (pictured, the top pot is filled with 801 and has a 783 rim, and the middle shelf pot is filled with 758 and has a 783 rim).
Mug:
Use 2 strands of 801 (or any color you like) to fill in the mug using satin stitch. Outline the handle with split stitch.
Add steam by using 1 strand of 801 to outline the markings using straight stitches.
Candle:
Use 2 strands of 503 (or any color you like) to fill in the candle using satin stitch. Use 1 strand of 783 to add the flame using straight stitches.
Step 3: Shelves
Use 3 strands of 712 to fill in the shelves using long and short stitch — though feel free to use satin stitch if you prefer the look of it more!
Step 4: Sweater
Use 4 strands of 503 to fill in the neck of the sweater using satin stitch. Then, fill in the body of the sweater using satin stitch, angling the direction of the threads toward the base of the neck stitches.
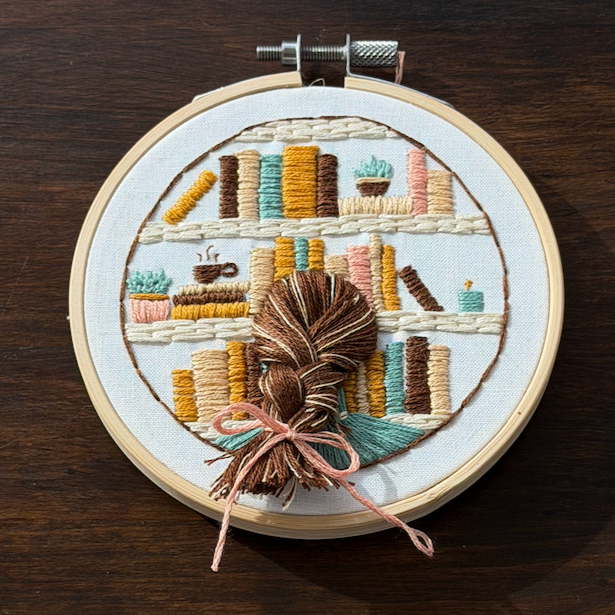
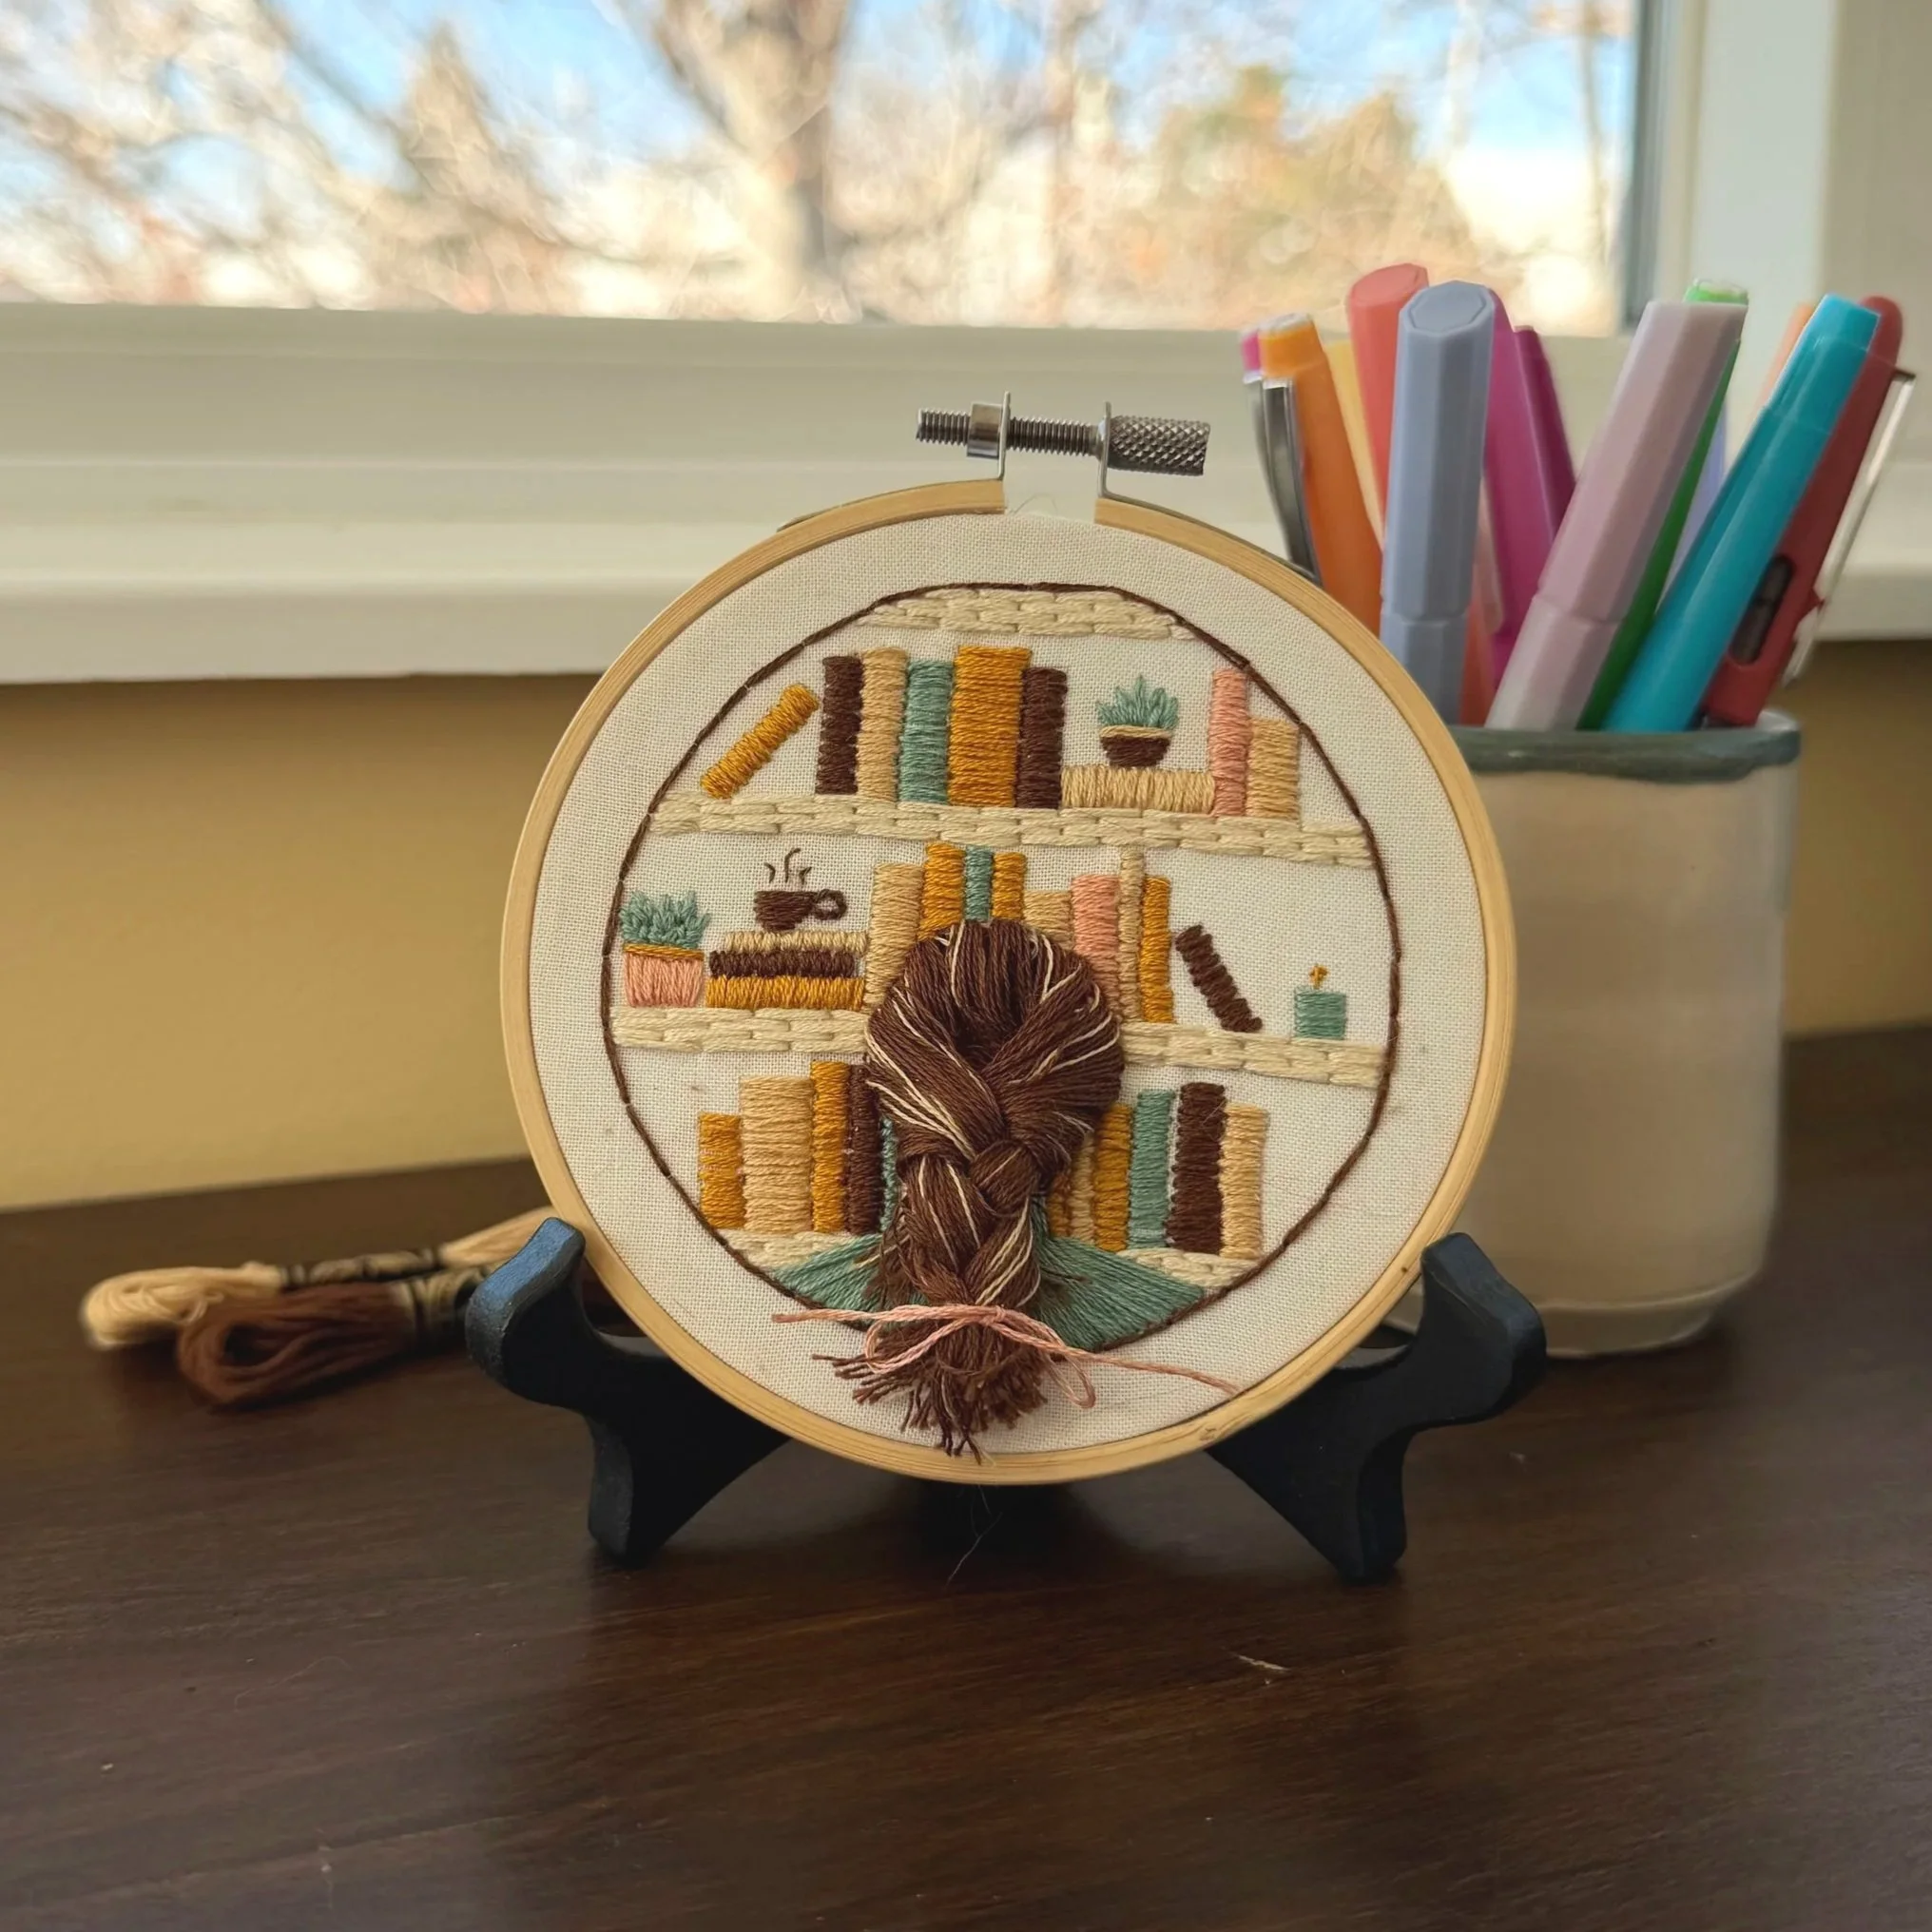
Step 5: Hair
Pictured is a combination of 801 and 738, but feel free to use other colors for the hair instead — try giving her blonde hair, pink hair, or use other color threads you might have hanging around.
Use 3 strands of 801 and 1 strand of 738 to add hair length using turkey stitch. Only follow the oval outline of the head, and keep the loops at least 2-3 inches long (they don’t have to all be even though — you’ll trim later).
Once the turkey stitches are done around the head, fill in the rest of the oval with 3-4 strands of 801. It doesn’t have to be super clean as it will mostly be hidden by her longer hair.
Now for the fun part: Cut open all the loops, and use a fine-tooth comb to brush out and separate the strands.

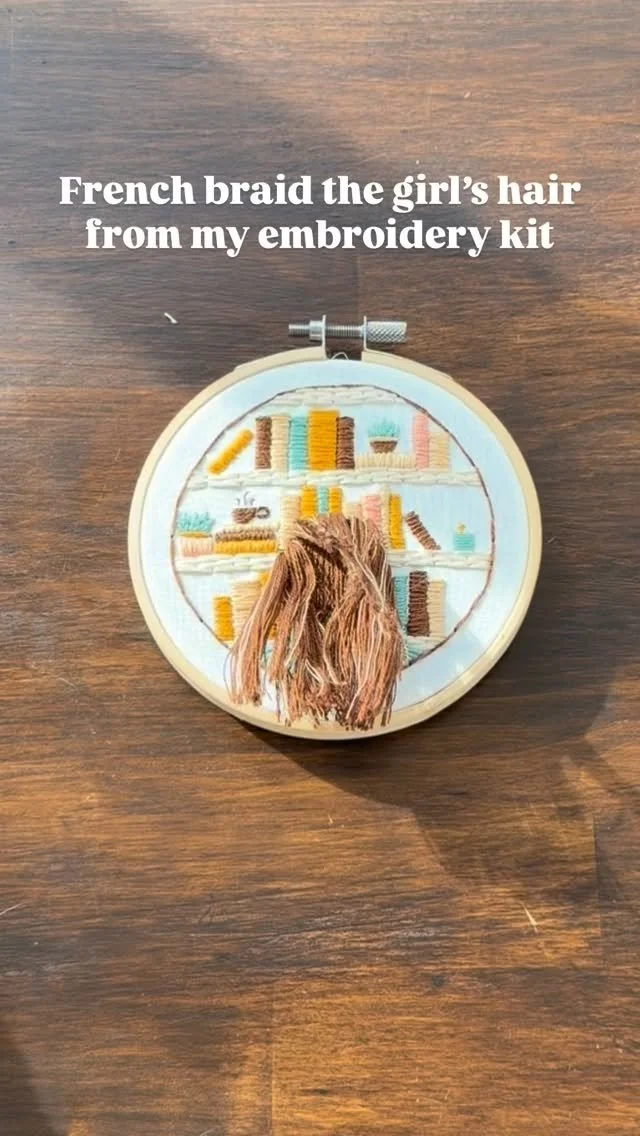
Step 6: Hair Styling
-
![hand embroidered braid]()
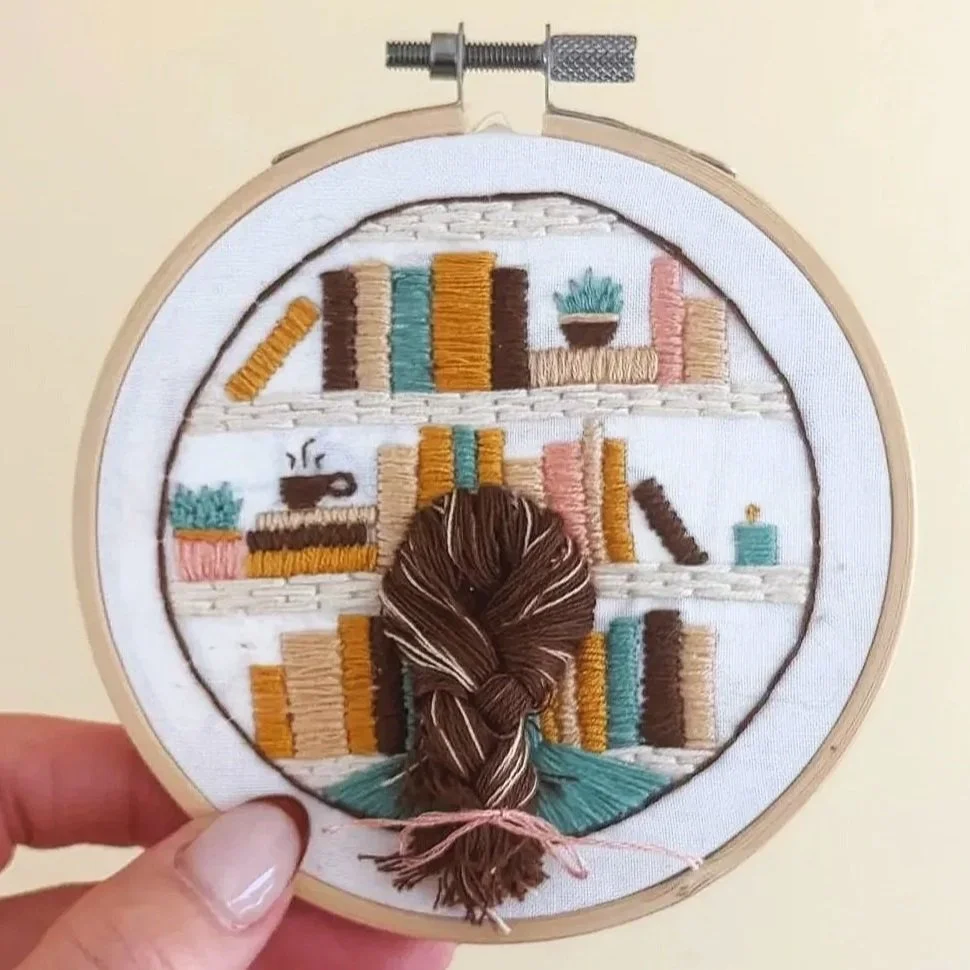
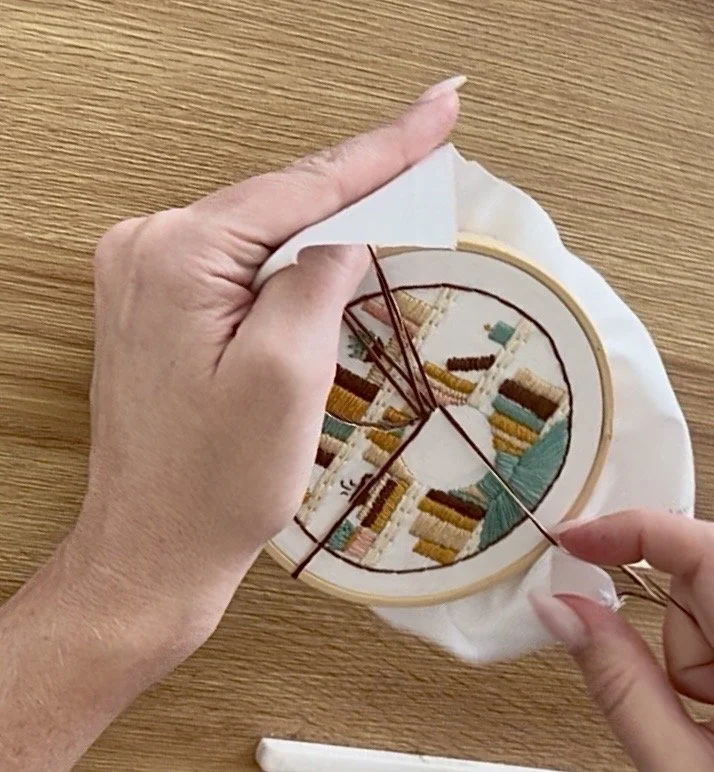
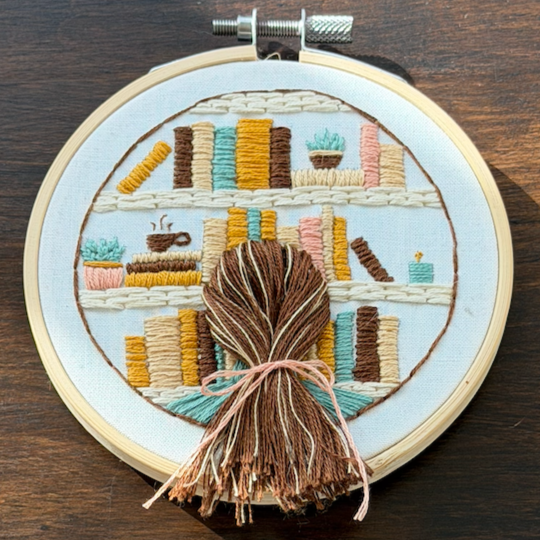
Braid
Divide hair into three sections — the top third, and two bottom thirds.
Bring down the top third first, and complete the braid using all three sections.
Once finished, hold it secure with one hand while taking another piece of thread (pictured is 2 strands of 758) in the other, and then tying the bottom of the braid in a bow to hold it secure.
Trim the excess edges so that the ends are evened out.
-
![hand embroidered bun]()
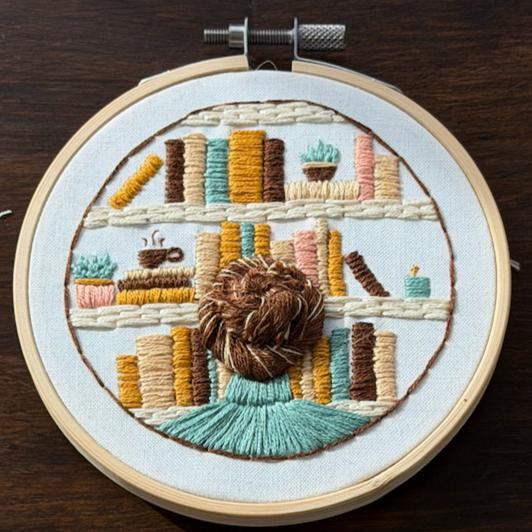
Bun
Create a bun shape with the hair by swirling it around.
Use 1 strand of 801, coming up from the bottom of the center of the bun, and going back through a portion of the hair to secure part of it in place.
Repeat, coming up from the center and moving outward around the bun shape, to secure hair down and into a finished bun.
-
![long hand embroidered hair]()
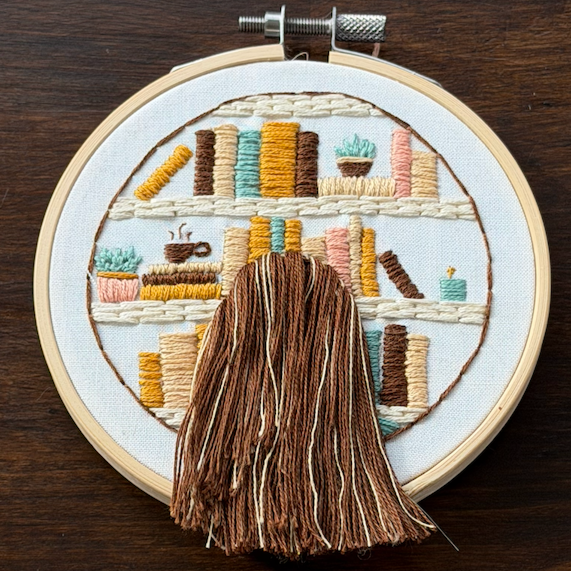
Keep Long
After combing out, comb all hair flat downward.
Use scissors to cut the bottom of the hair straight across.
-
![hand embroidered pony tail hair]()
Pony Tail
Follow the guidance for keeping it long, but use 2 strands of any color to bring the hair together and secure the pony at the base of her neck.
-
![hand embroidered curly hair]()
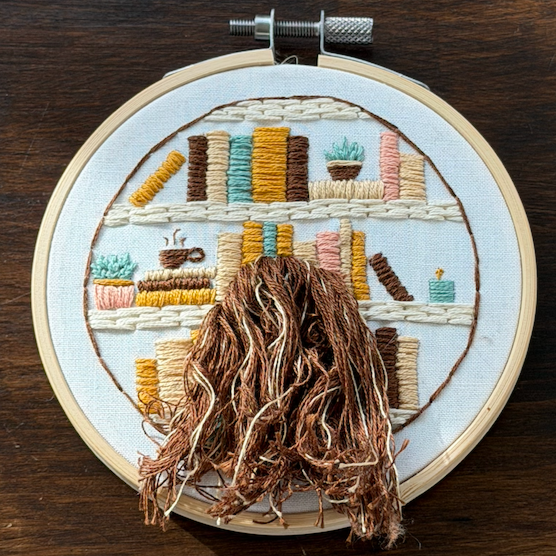
Curl
Follow the guidance for keeping it long, but then add curl to it.
Use the blade edge of a pair of scissors (not too large or too sharp) to curl a few strands of hair at a time — similar to how you might curl ribbon when gift wrapping.
Don’t comb out at the end, but use your fingers to style and press into place.
Finishing the Hoop
There are a number of ways to finish the back of the hoop once you’re done. One method:
Thread a needle with more than enough thread to go all the way around the circle – whatever you have leftover.
Then, using large running stitches, working about ¼ inch from the fabric edge, sew the excess cloth around the circle.
When you reach the beginning, pull both ends of thread to gather the fabric tightly and secure with a double knot.
Here’s a video for how to do this. Or if you have felt at home, consider giving this method a try!
And if you have hot glue at home, another method is to cut the excess fabric, leaving about a ¼ inch around the edge of the hoop. Then, hot glue the cut edges down along the inside hoop at the back.
Once you’re done, post a photo of your finished piece, tag @needleandspruce, and use the hashtag #needleandspruce! We love to see your creations! 🌲