First Snow
Embroidery Sticker Pack

Welcome!
-
△
Here, you’ll find more information on how to use your stickers, ideas for application, and some stitches to get you started.
-
△
-
△
Have questions? Don’t hesitate to reach out: needleandspruce@gmail.com.
First Snow Embroidery Sticker Pack
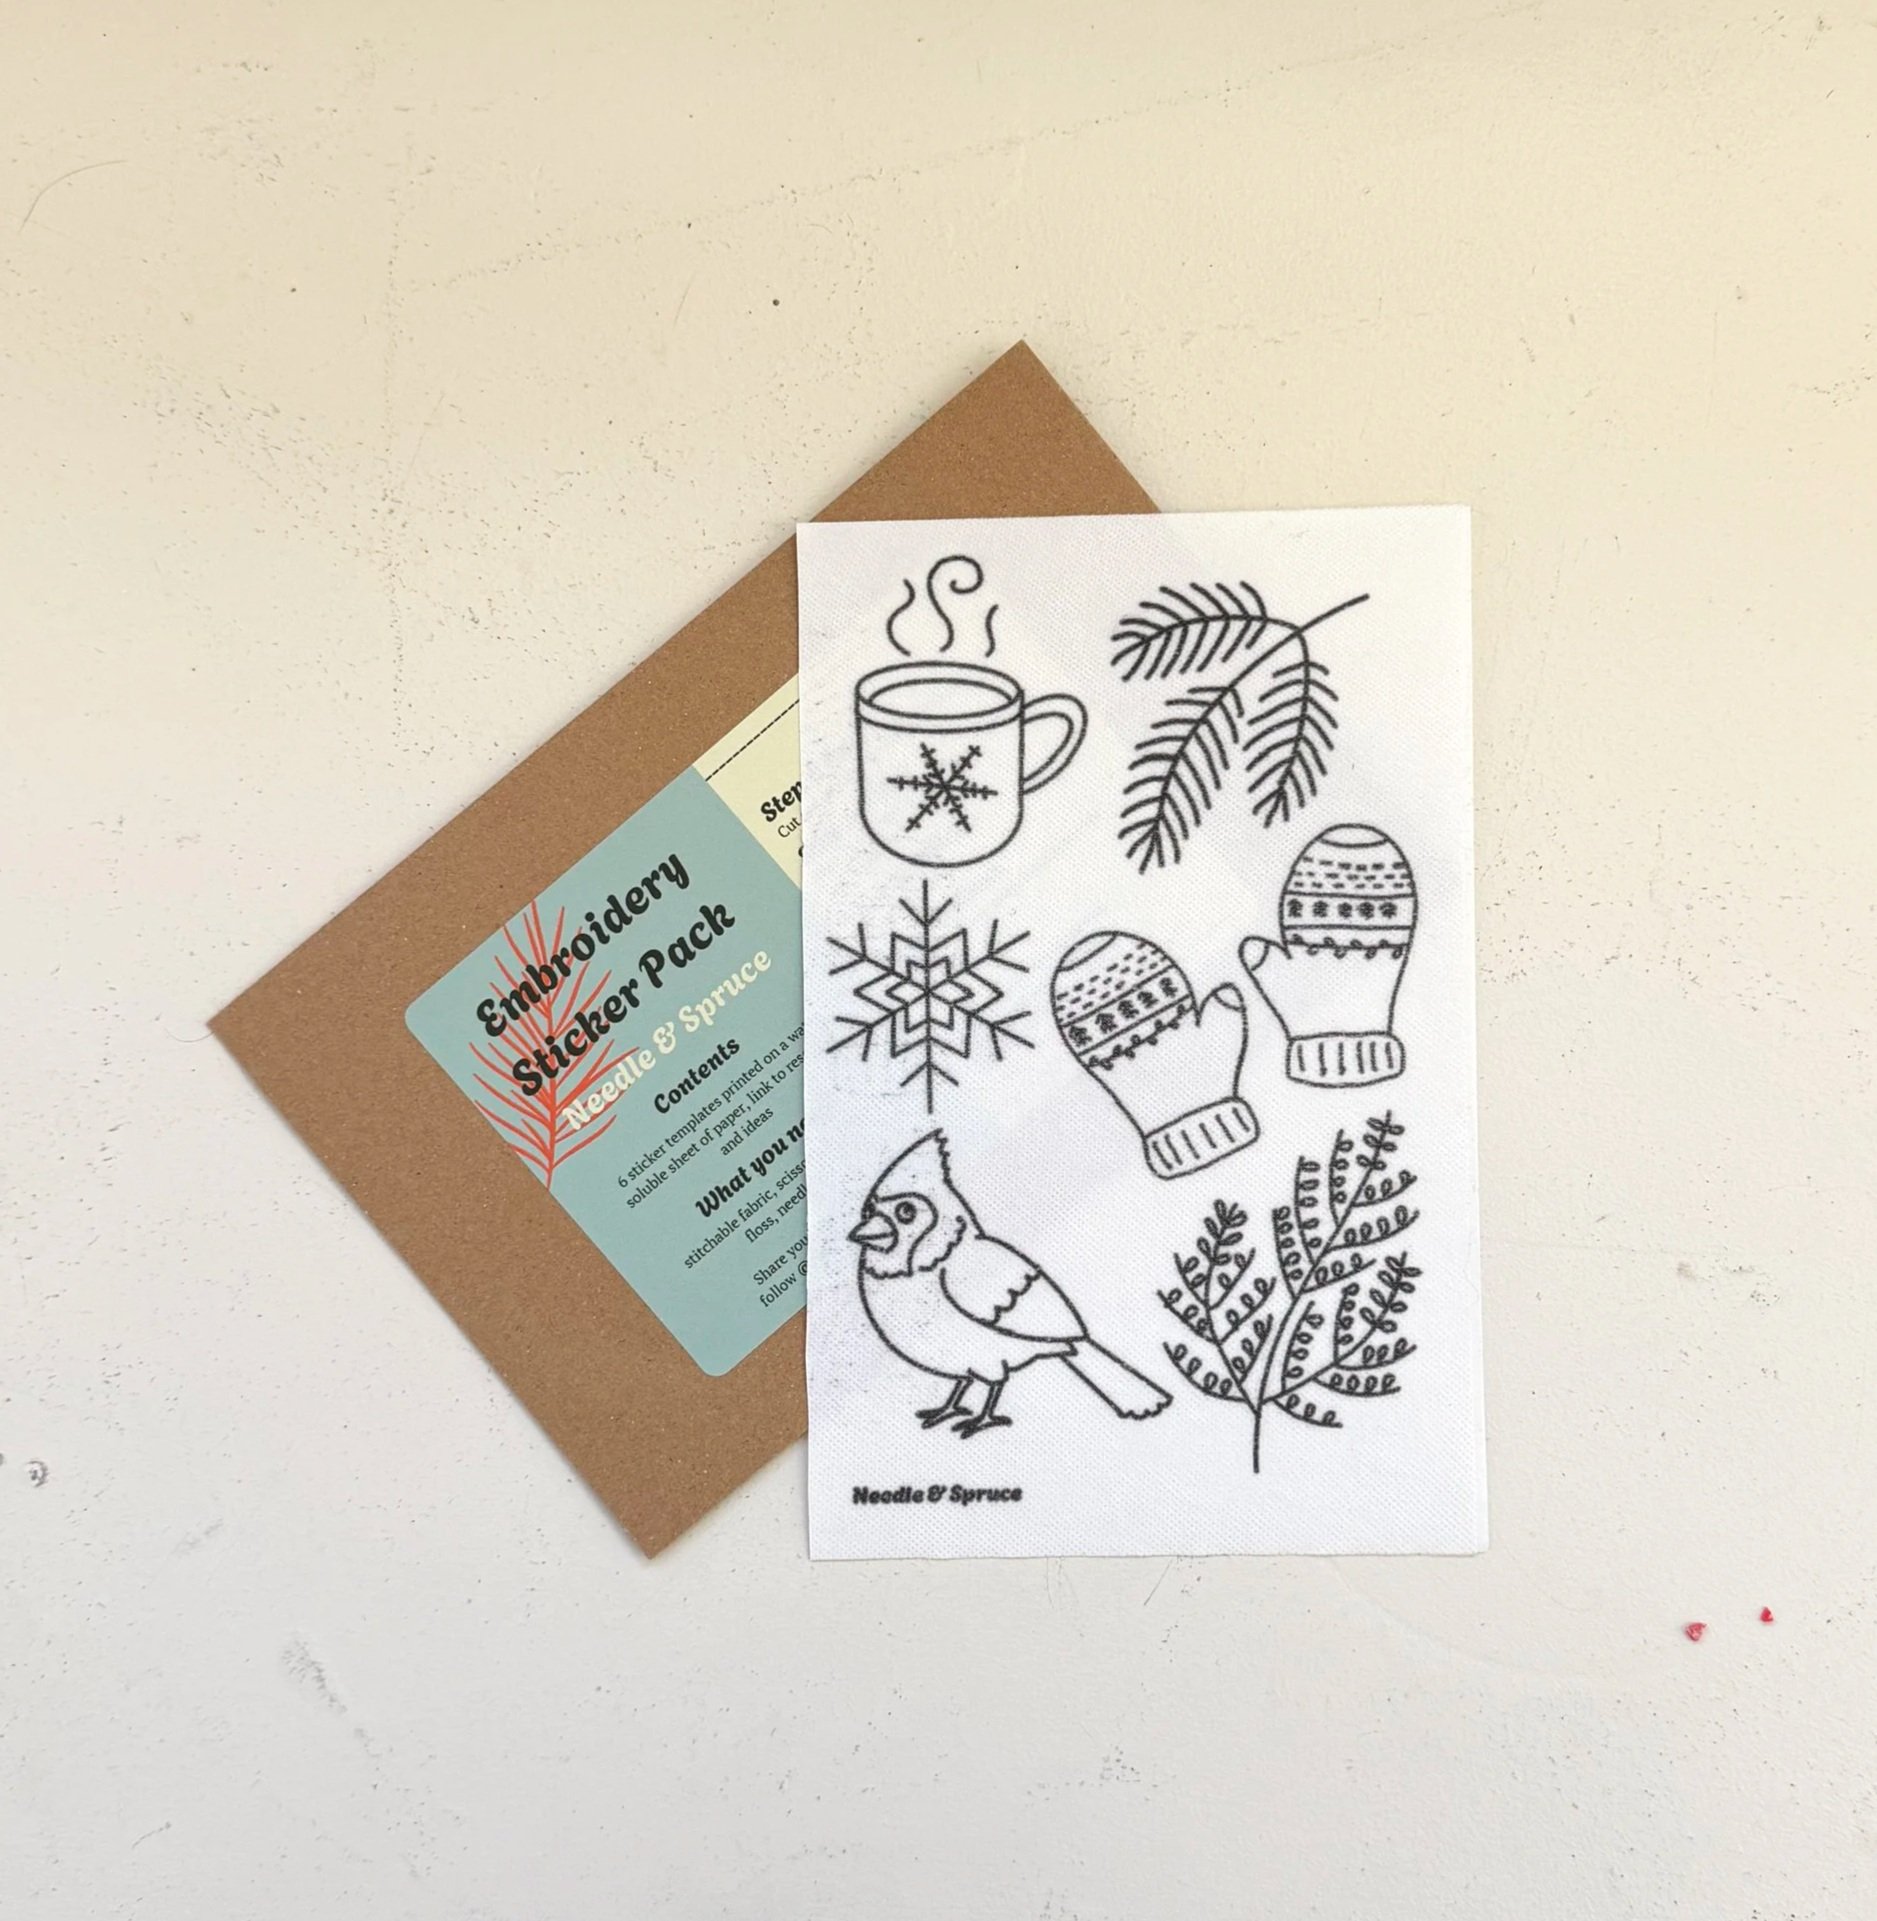
Sticker Pack Includes:
Each DIY Embroidery Sticker Pack includes 6 sticker templates printed on a water soluble sheet of paper
What You Need:
Stitchable fabric, scissors, embroidery floss, needle, and water
How It Works
-
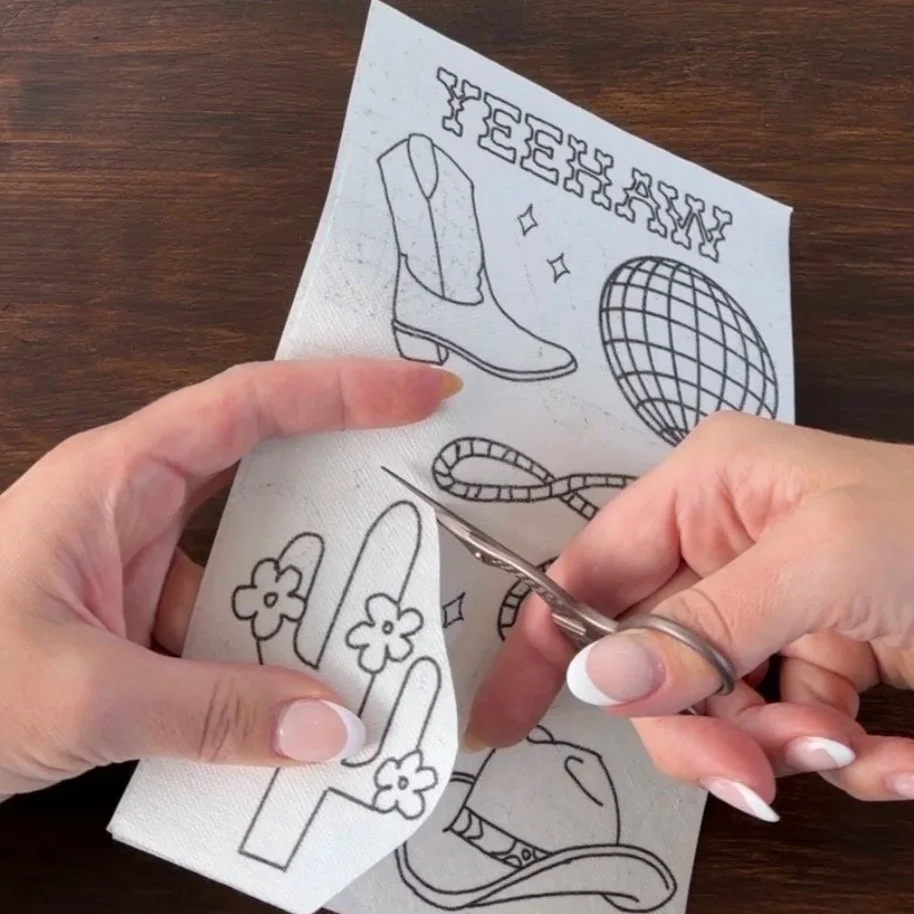
![Person engaged in cutting out embroidery designs, cutting out shapes of a cowboy boot, flower, lasso, and disco ball from a sheet of water soluble paper with black outlines.]()
Step 1: Cut
Cut out a design.
-
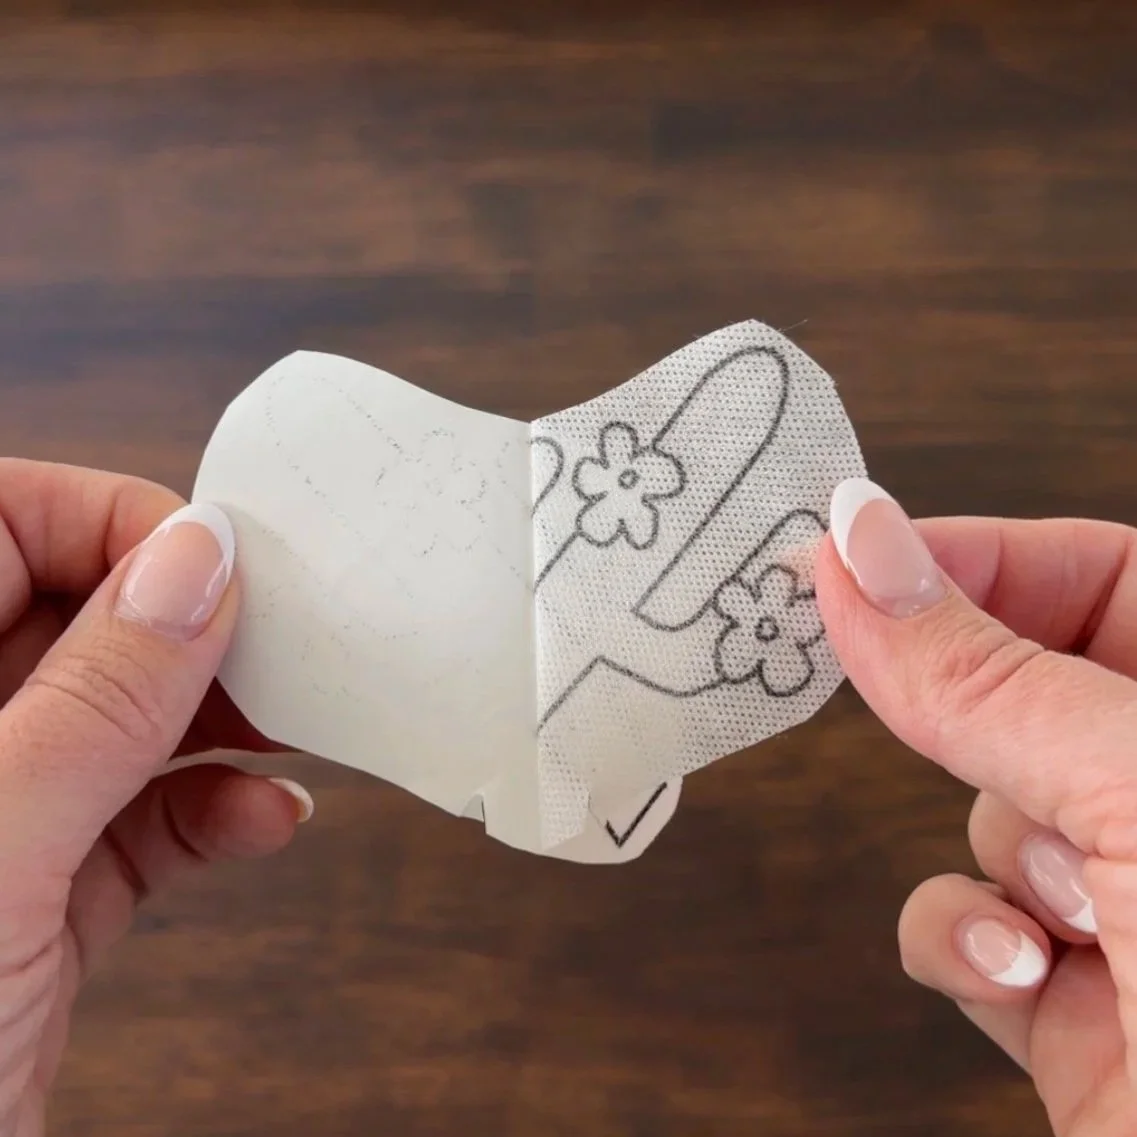
![Hands holding a piece of fabric with a cactus and flower design, partially peeled back to reveal the sticky side.]()
Step 2: Peel
Peel off the back.
-
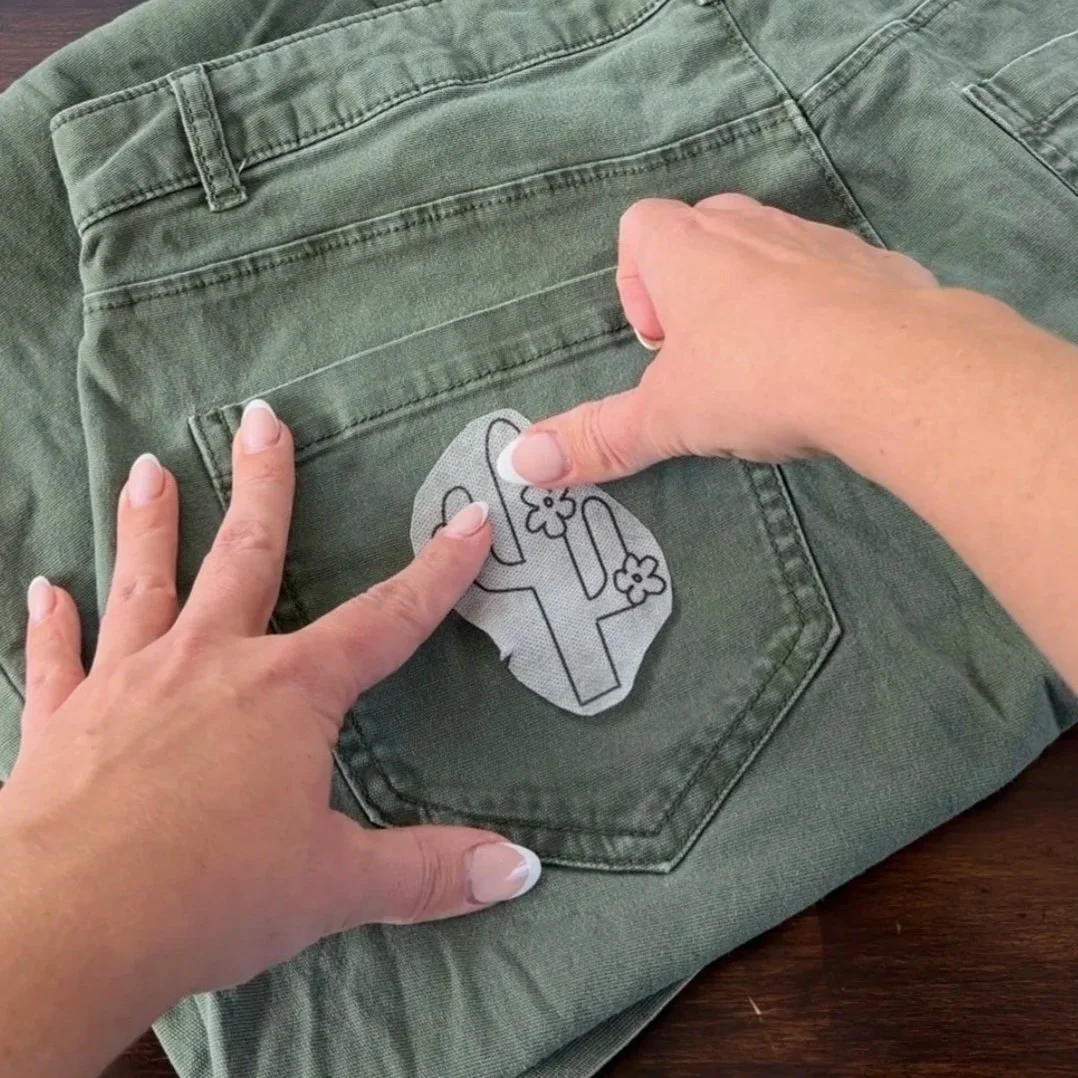
![Person applying a sticker of a cactus with flowers to the back pocket of green jeans.]()
Step 3: Stick
Stick the design onto the fabric you want to embroider.
-
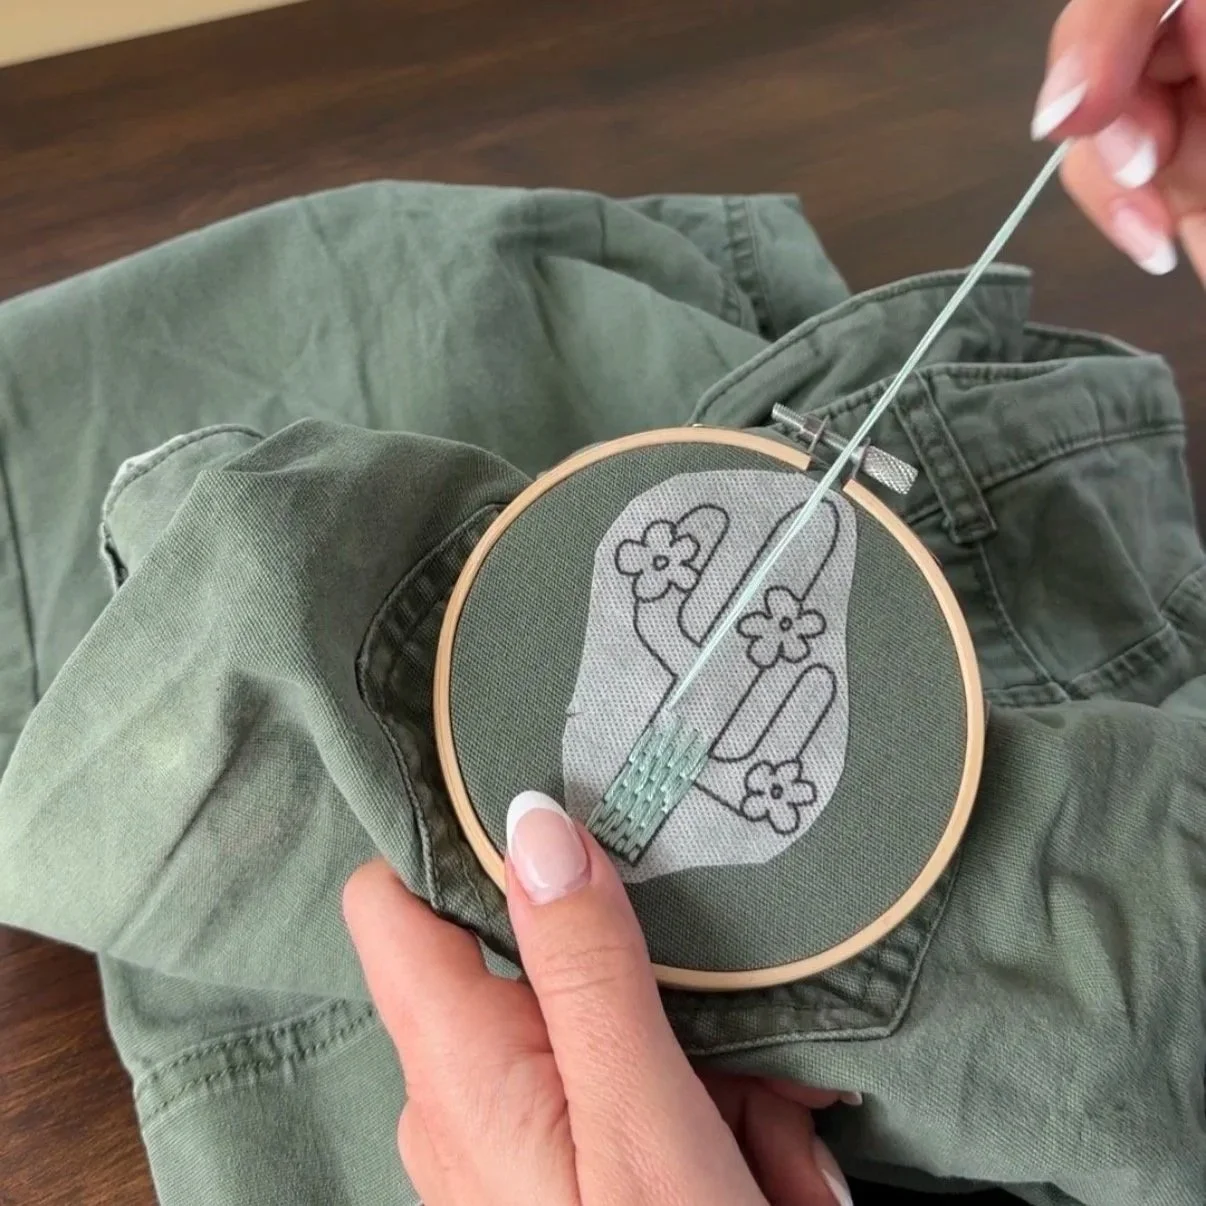
![Person stitching a floral design onto green fabric using an embroidery hoop and needle.]()
Step 4: Stitch
Stitch the design!
-
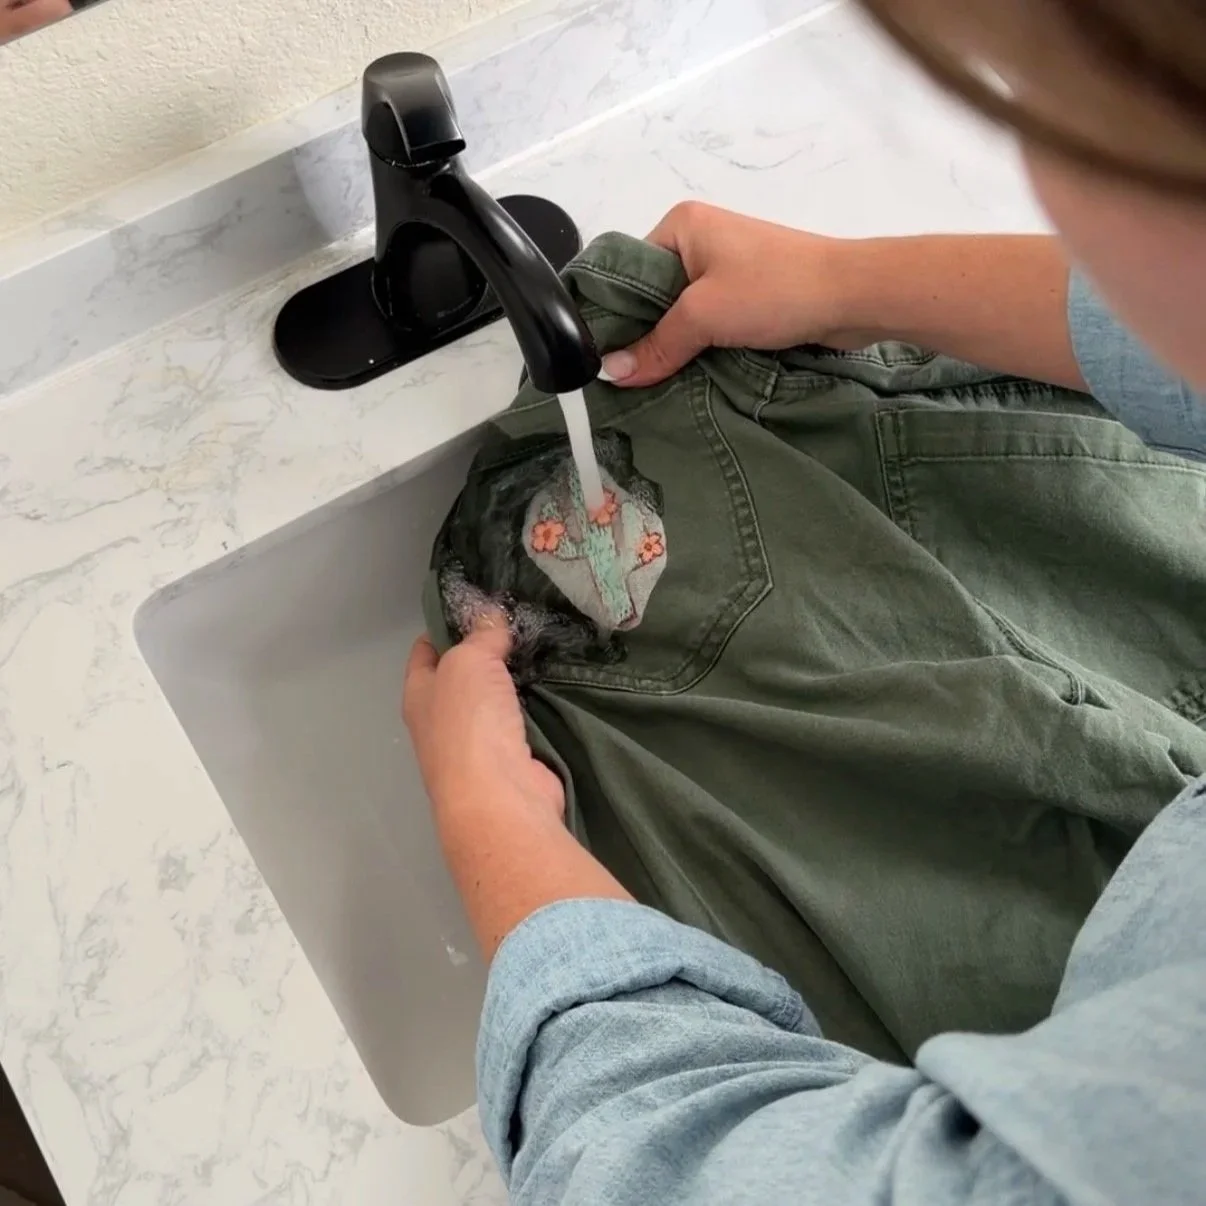
![Person washing a pair of green jeans with embroidery in a sink under running water.]()
Step 5: Wash
Soak the sticker away, leaving behind your work.
Ideas and Inspiration
There is no wrong way to use these stickers! Here are some ideas for application, but really any fabric you can punch a needle through is embroider-able.
Patch up holes on your clothes
Display in a hoop
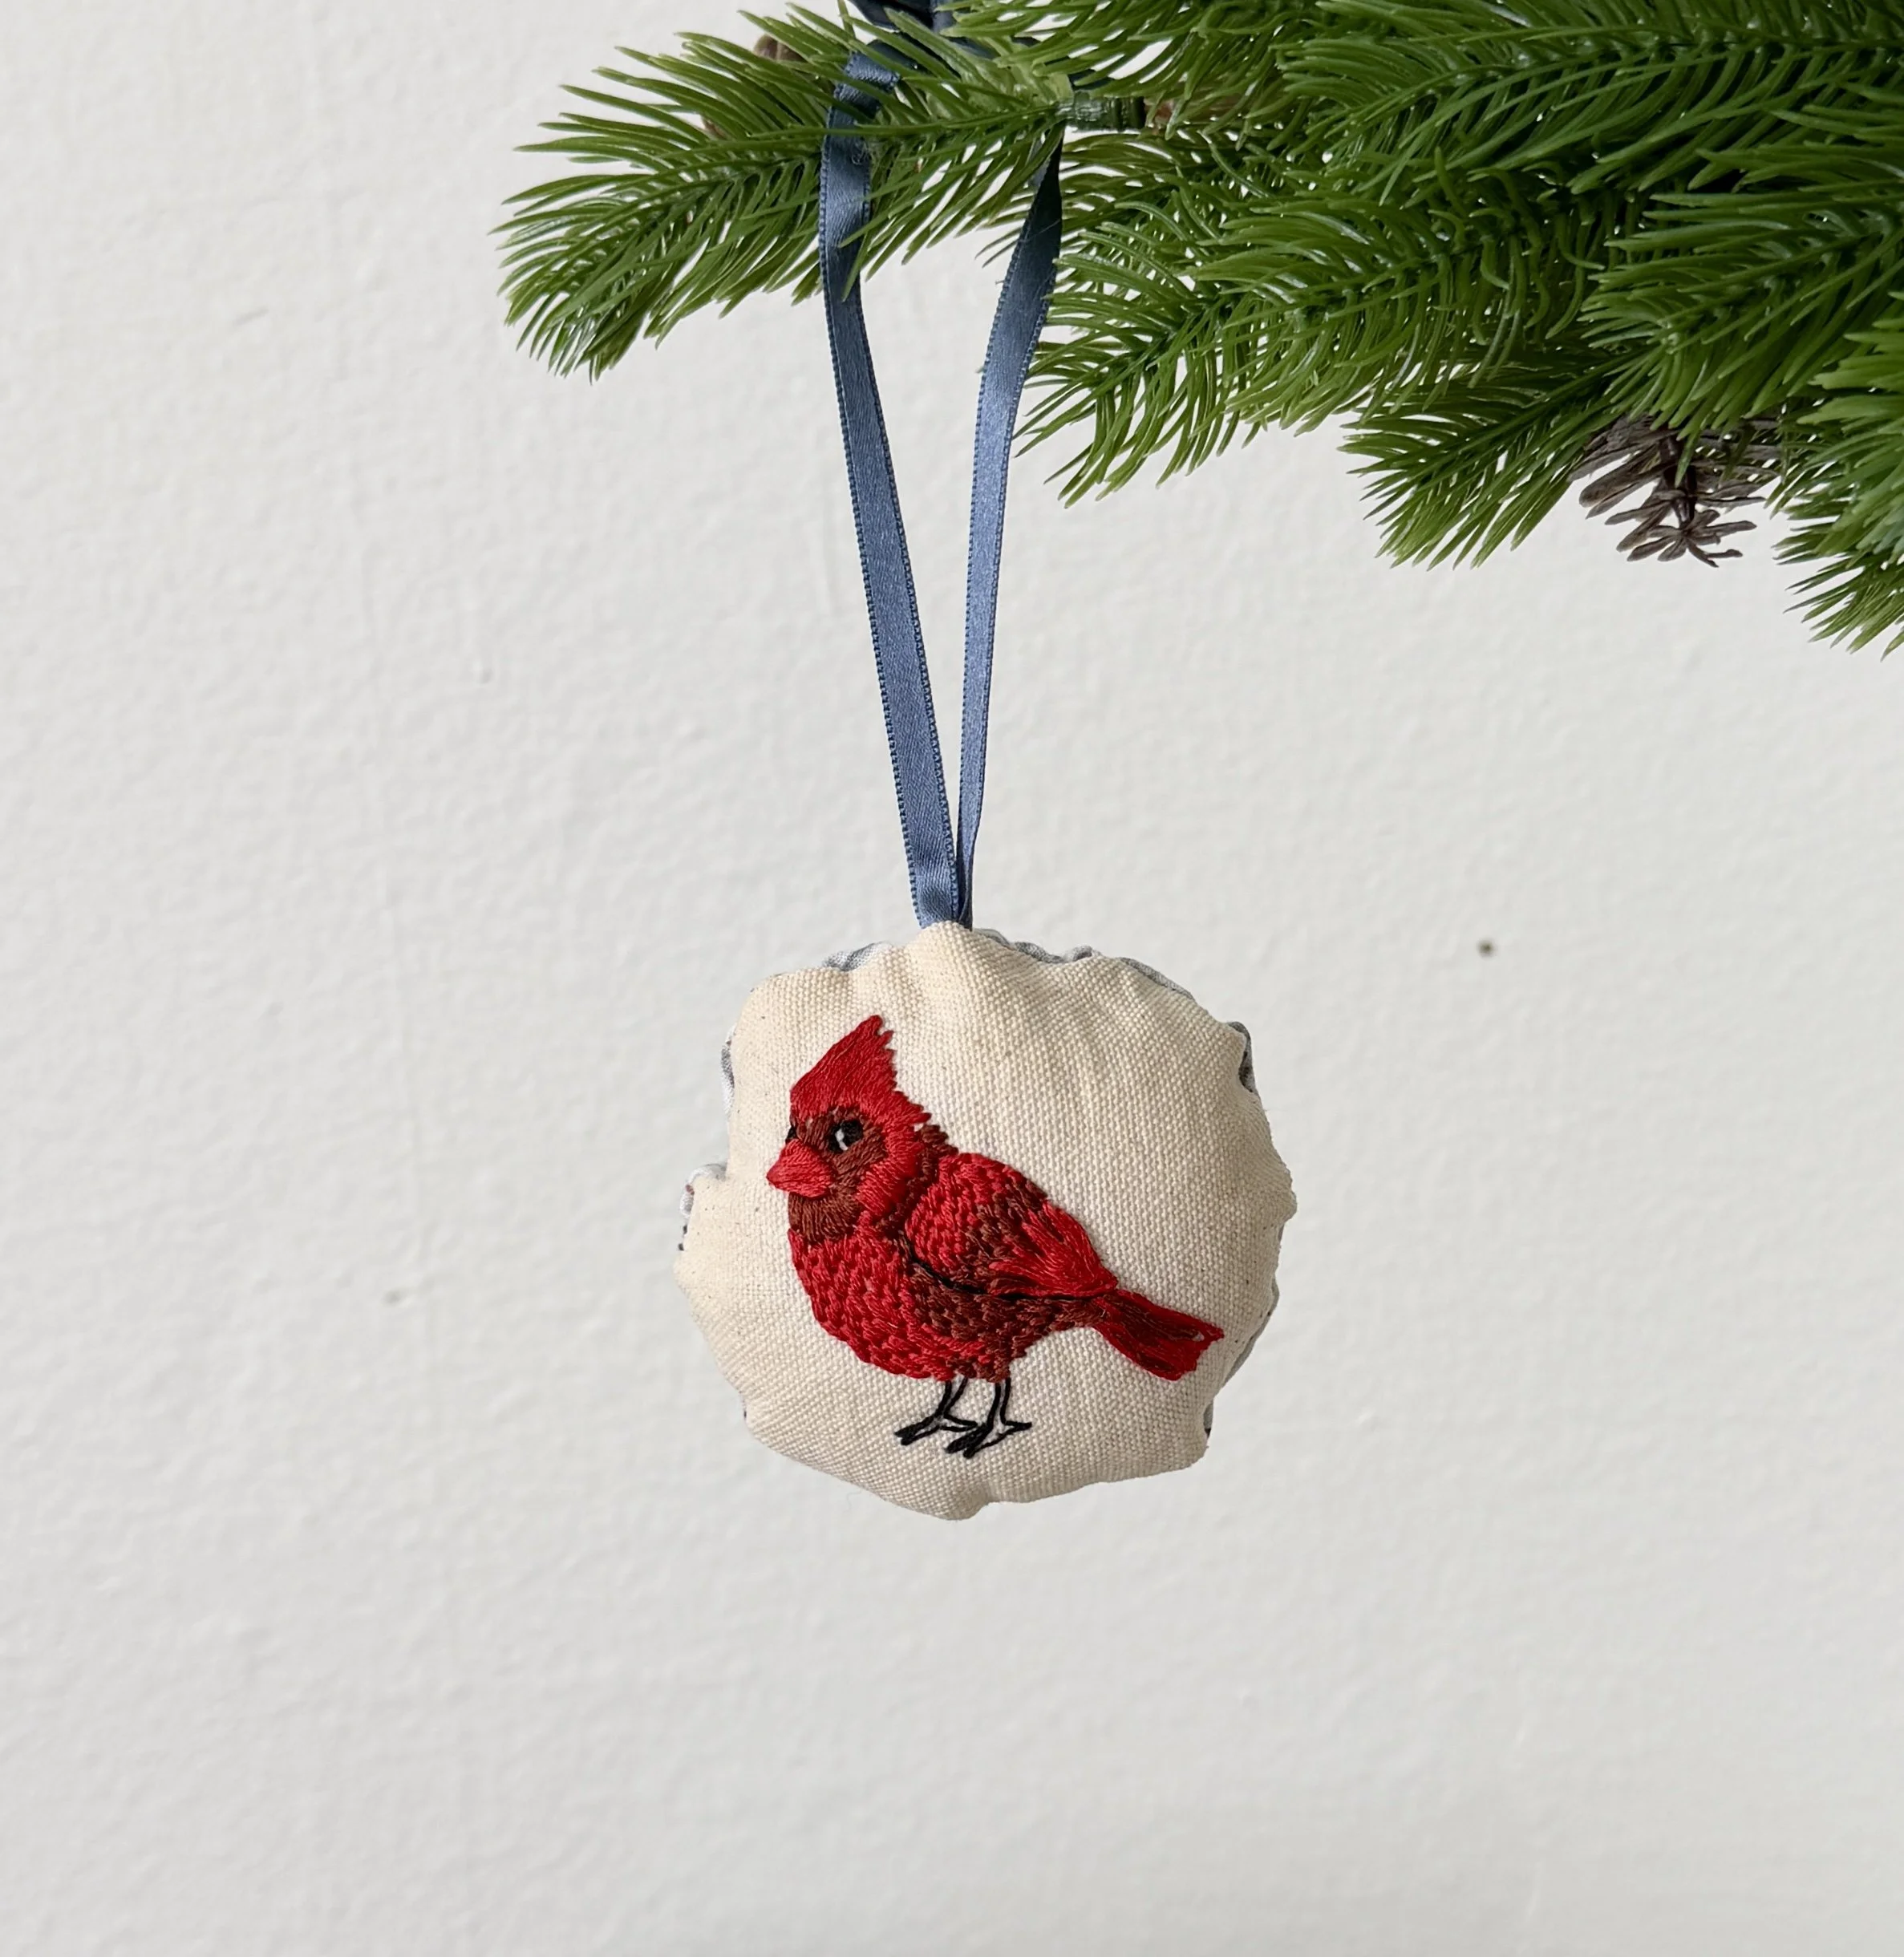
Make Christmas ornaments
Embellish thrifted clothes
Add decoration to:
Tote bags
Throw pillowcases
Dish towels
Dinner napkins
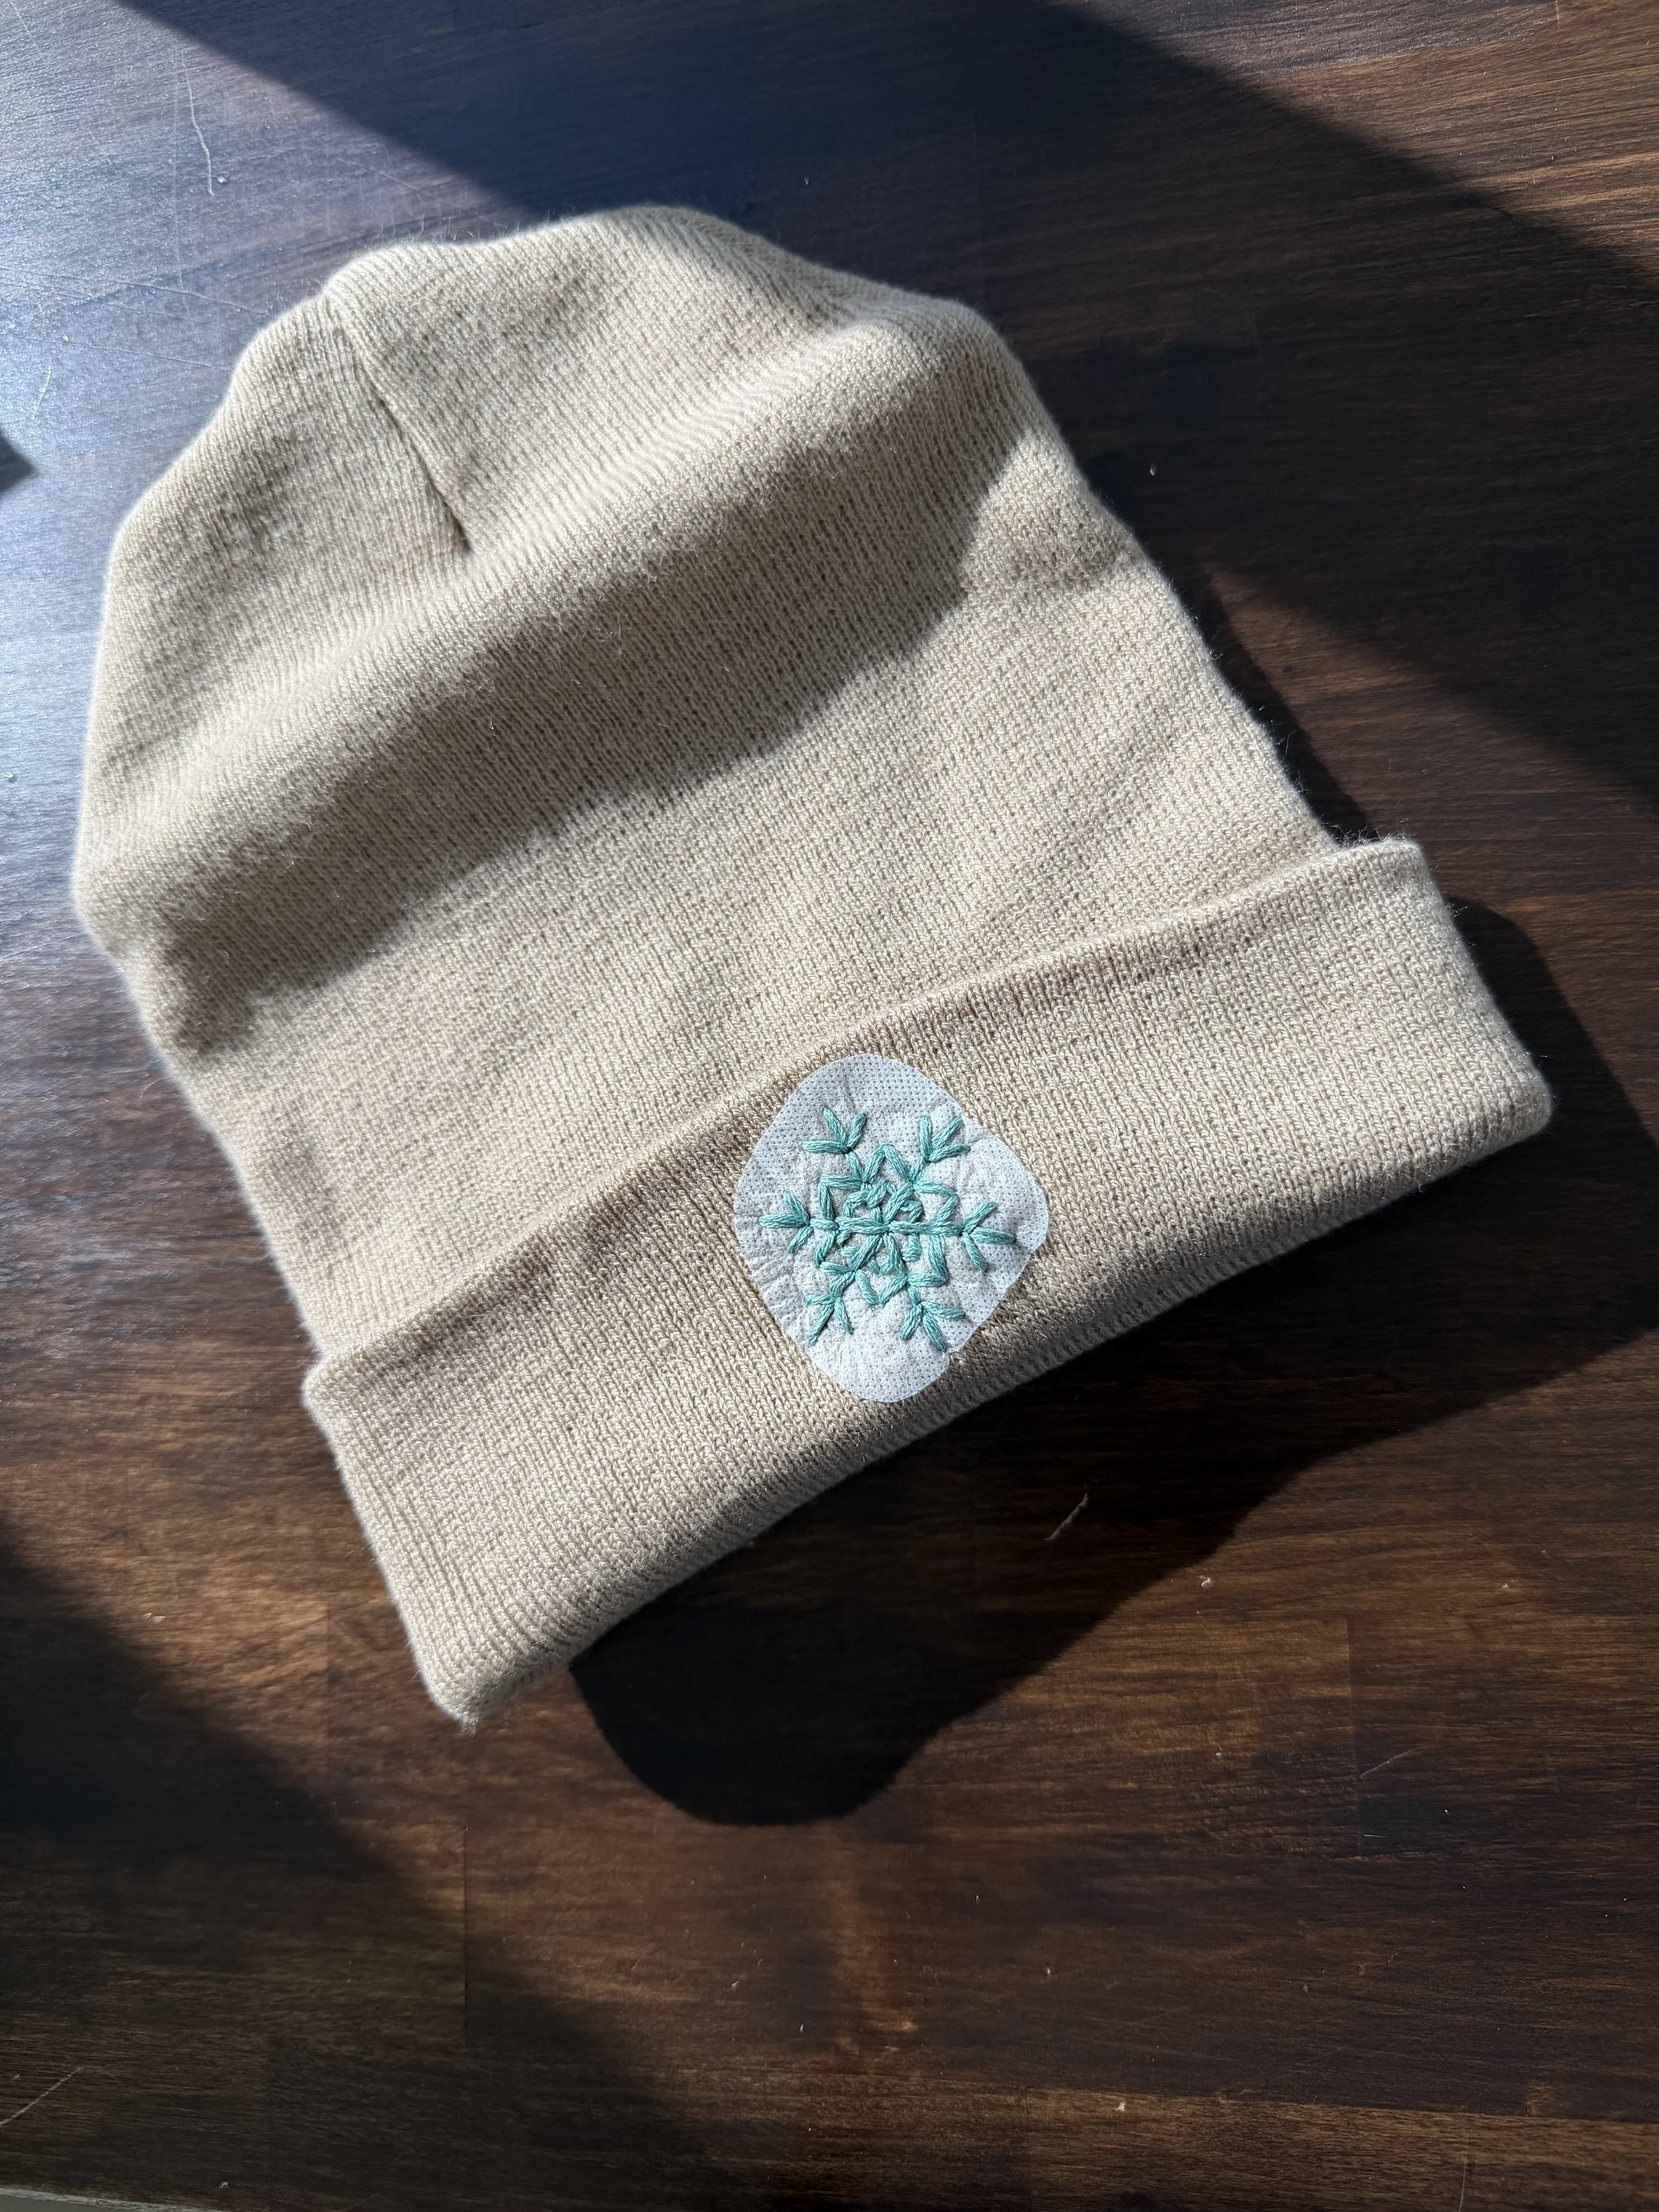
Dad caps, beanies
Jeans, jackets, crewnecks, tee shirts – any clothing really
Aprons
Choose your own thread colors ands stitch style to make something truly yours. But below are some ideas for ways this pattern can be used, as well as some suggested stitches to get you started.
Stitches to Get You Started
-

Split Stitch
Good for outlines and text. The split back stitch and the back stitch are also similar.
Begin with a straight line. Pierce this stitch from the bottom (1) and go back down a stitch away (2). Repeat (3).
-

Satin Stitch
Good for filling in spaces. Be careful though when stitching on flexible fabric — you don’t want too much loose thread that could potentially bunch.
Begin with a straight line (1,2). Come back up from the same side as 1 to maintain stitch direction (3). Fill shape.
-

Short and Long Stitch
Great for filling in space on more flexible fabrics. Also lends well to creating color gradients.
Begin with a row of stitches that stagger in length. The next row will all contain stitches of the same length.
-

Chain Stitch
Bring needle up and down in the same hole (1), but don’t pull it all the way through — leave a loop. Then bring the needle up through the middle of the loop (2) and pull slowly to tighten the thread. Bring needle back down through 2 and repeat.


Once you’re done, post a photo of your finished piece, tag @needleandspruce, and use the hashtag #needleandspruce! We love to see your creations! 🌲